Install Vagrant
Download Vagrant from https://www.vagrantup.com/downloads.html.
Click MAC OS X.
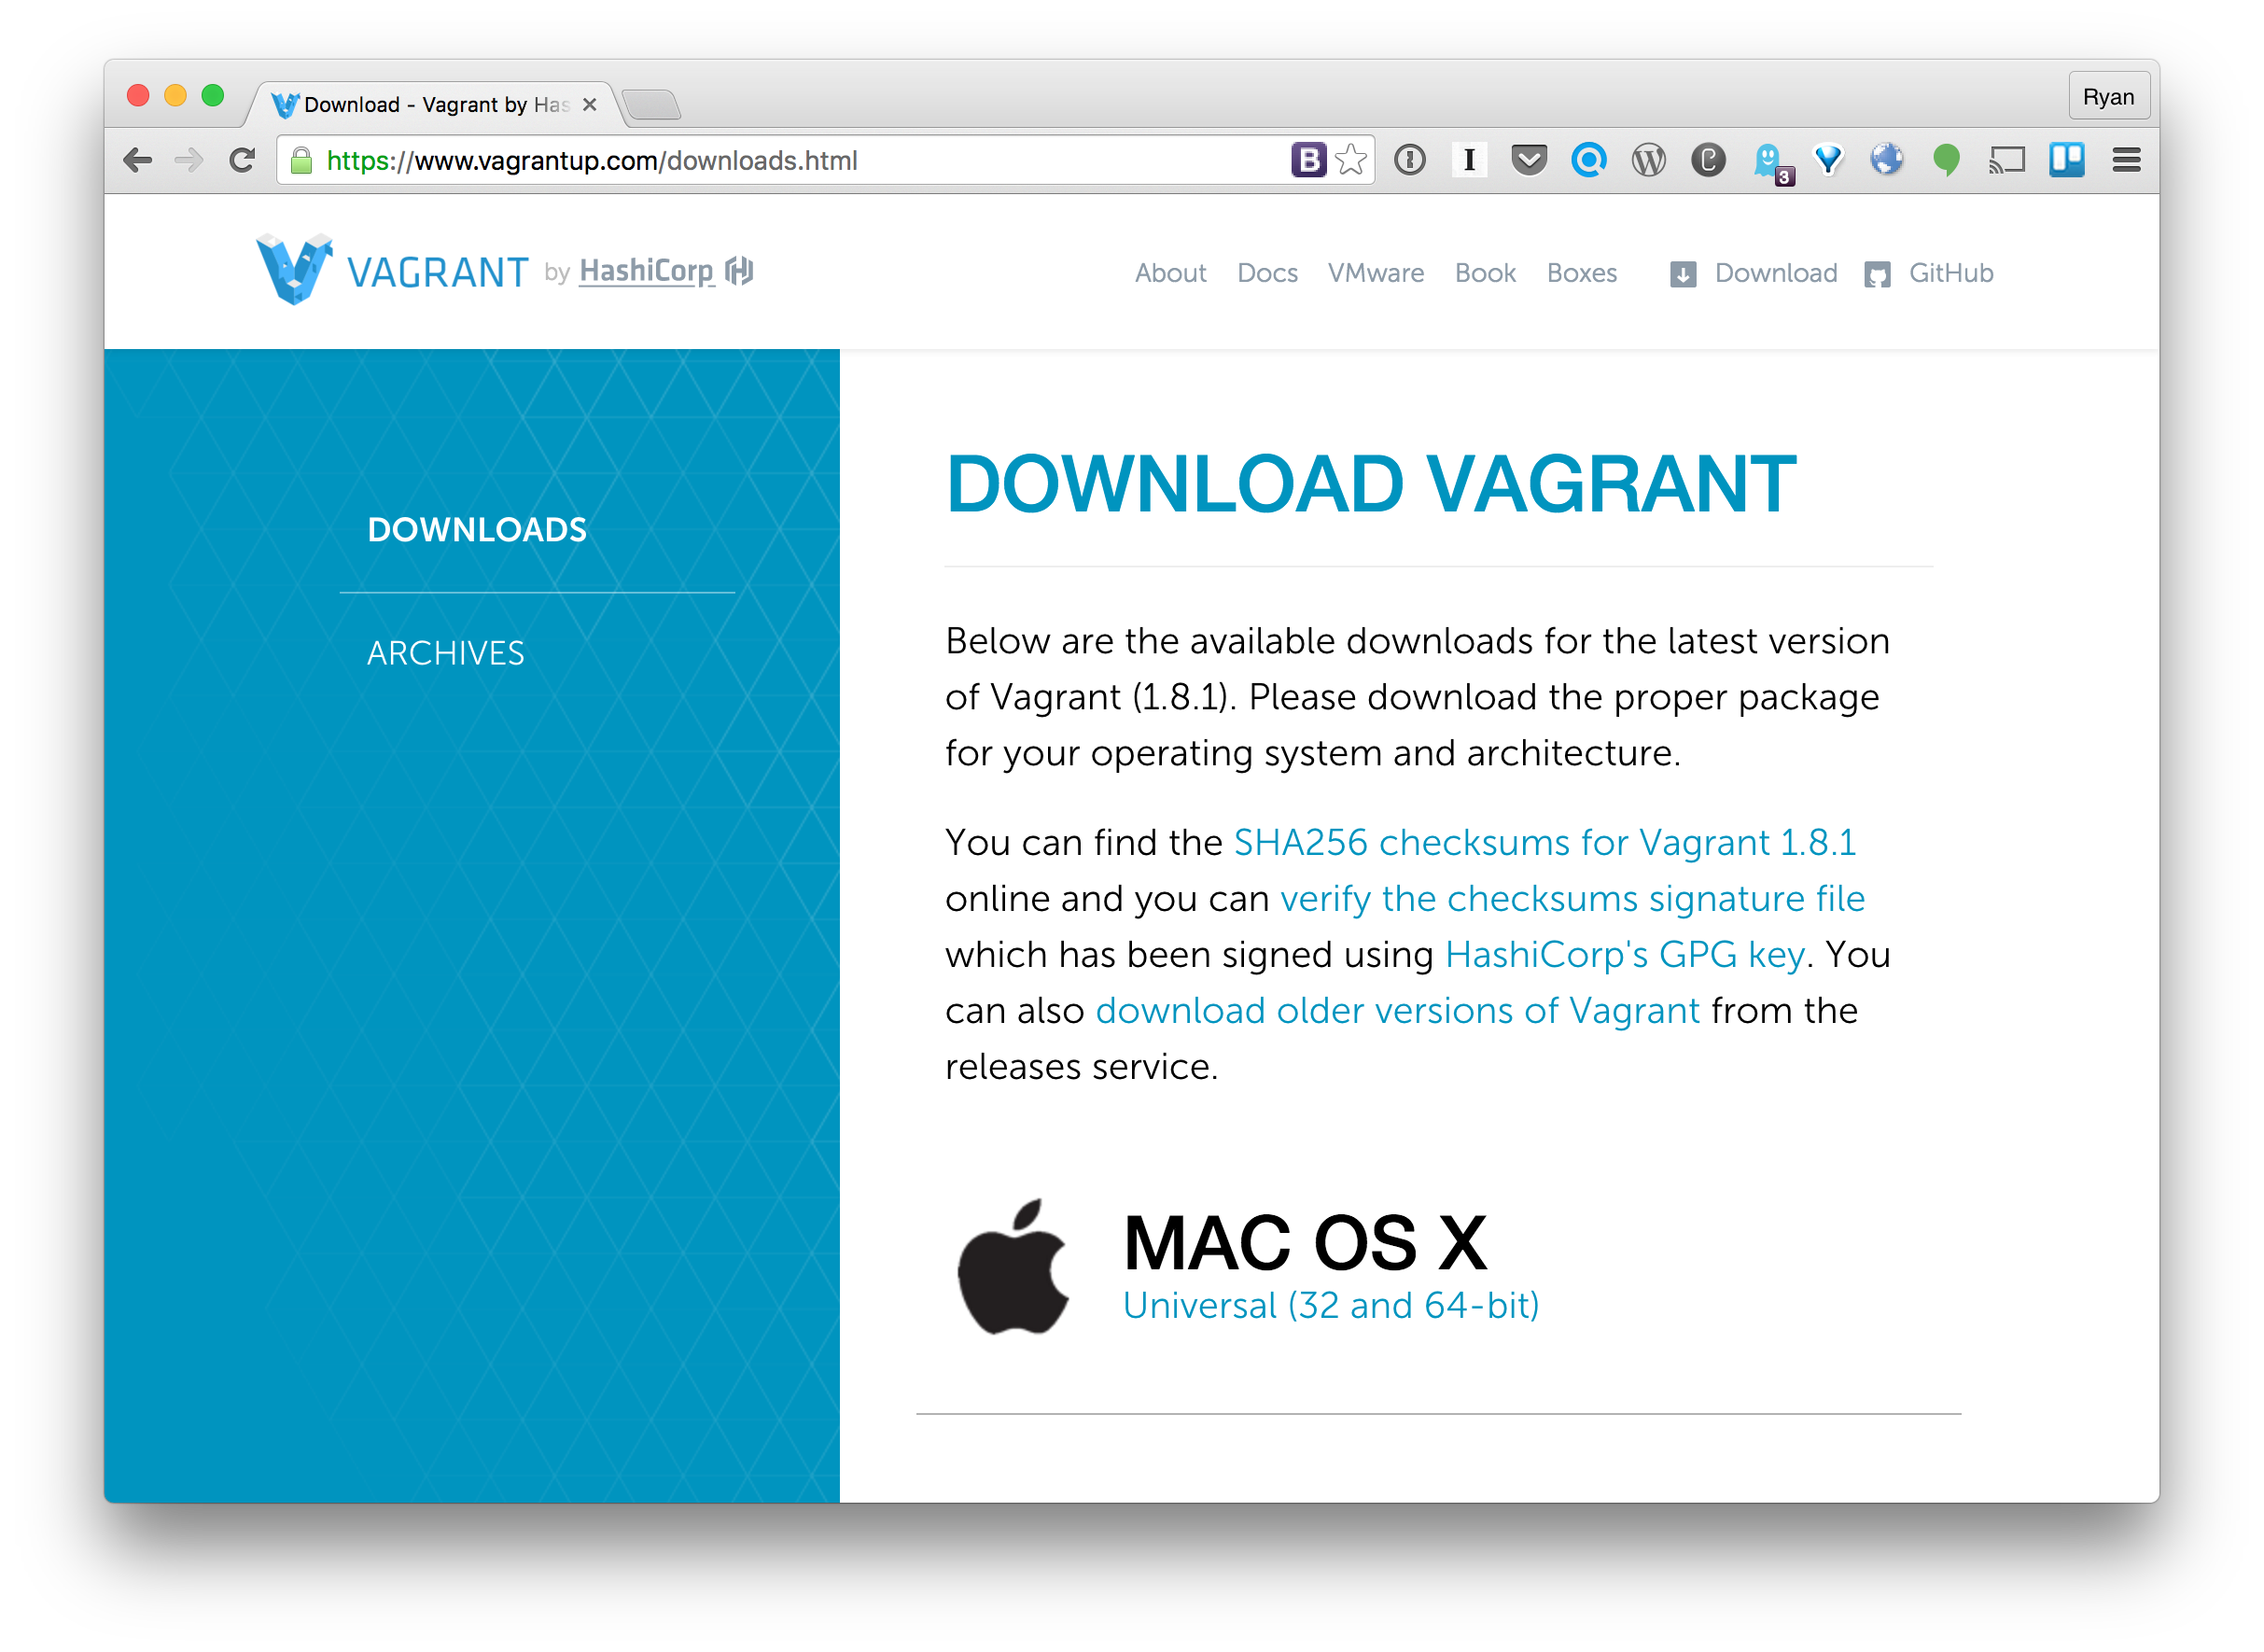
Click vagrant_1.8.1.dmg.

Click Vagrant.pkg

Click Continue.
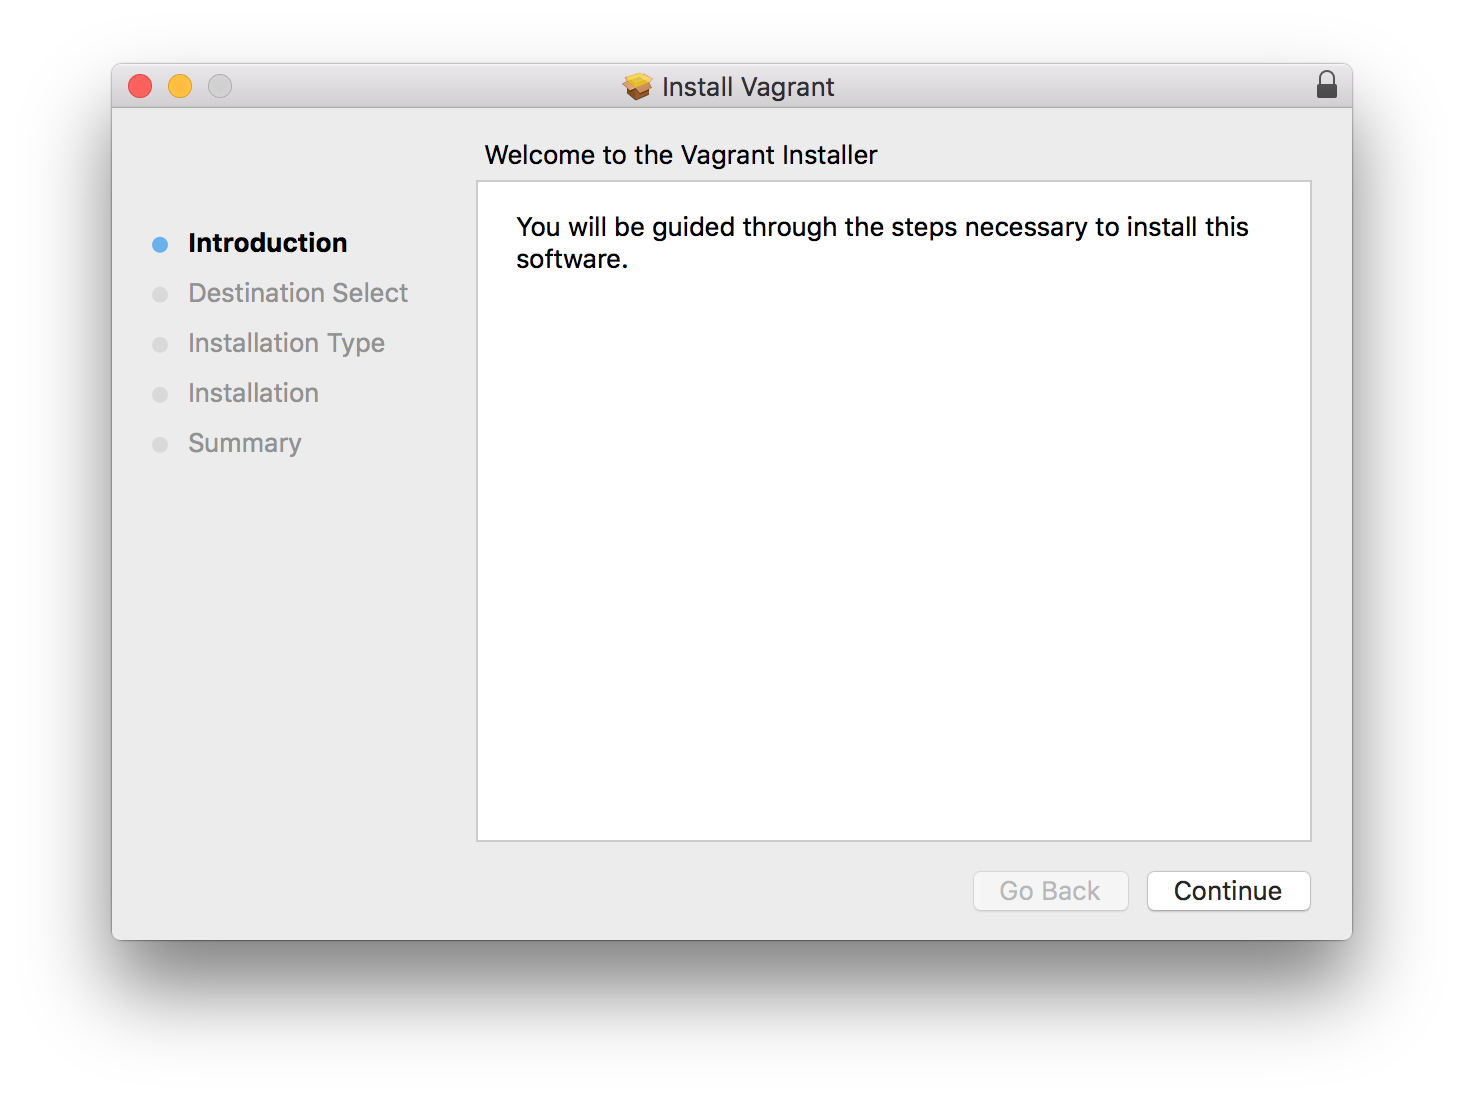
Click Install.
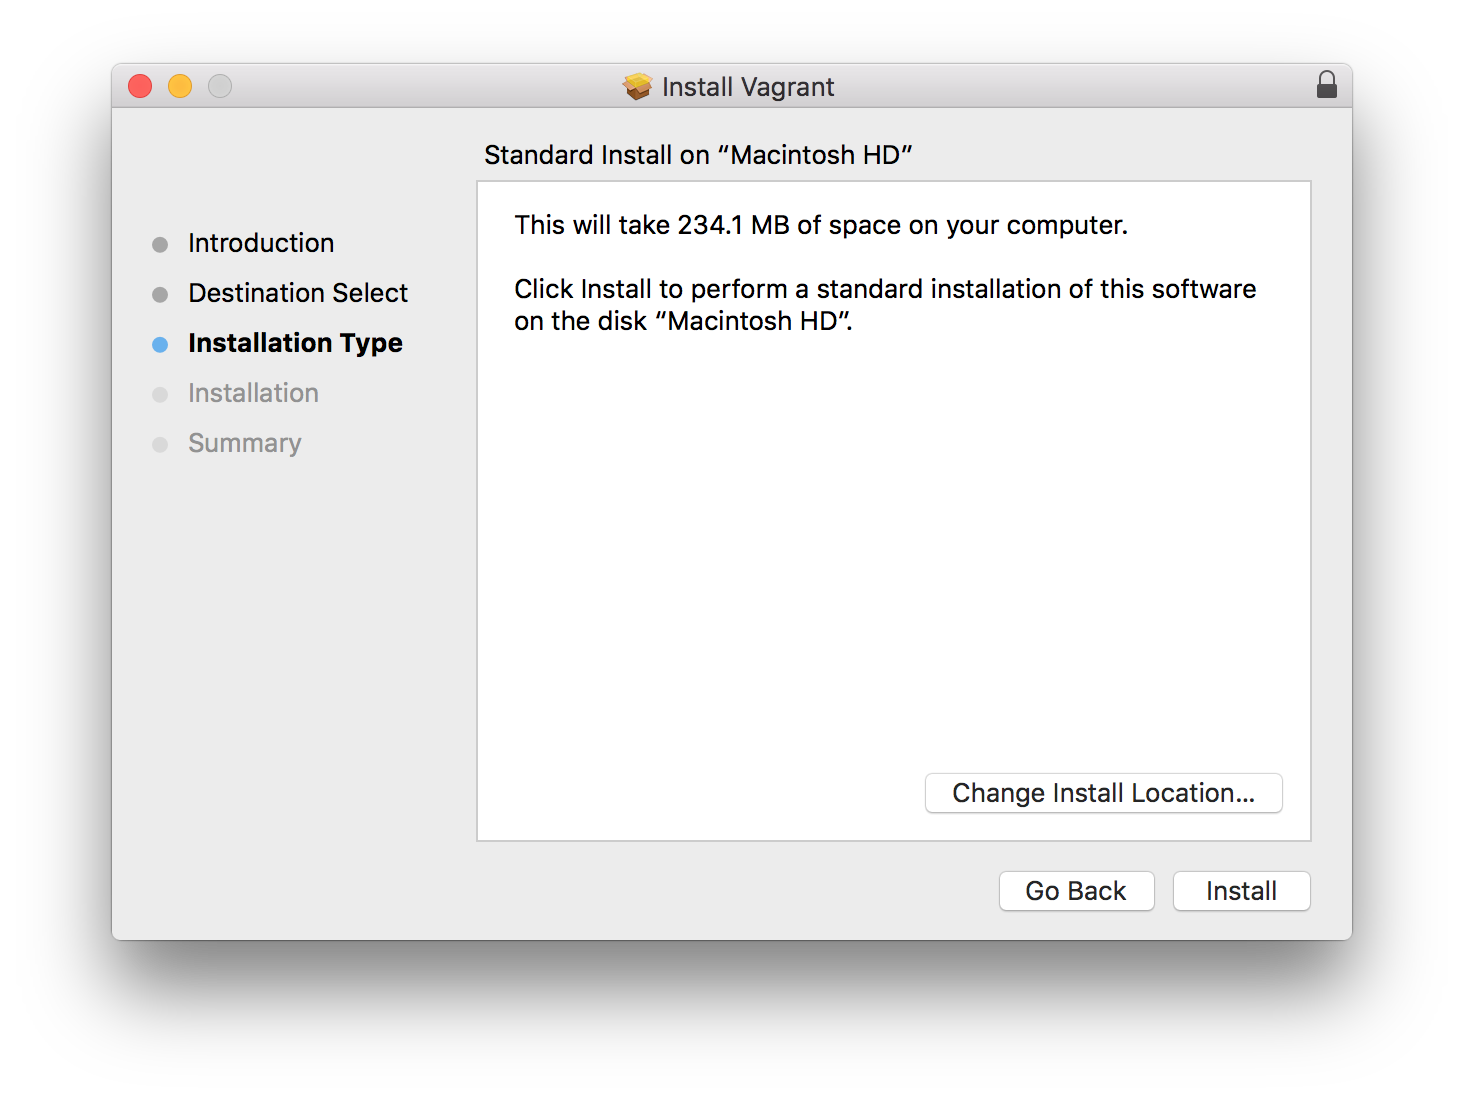
Enter password and click Install Software.

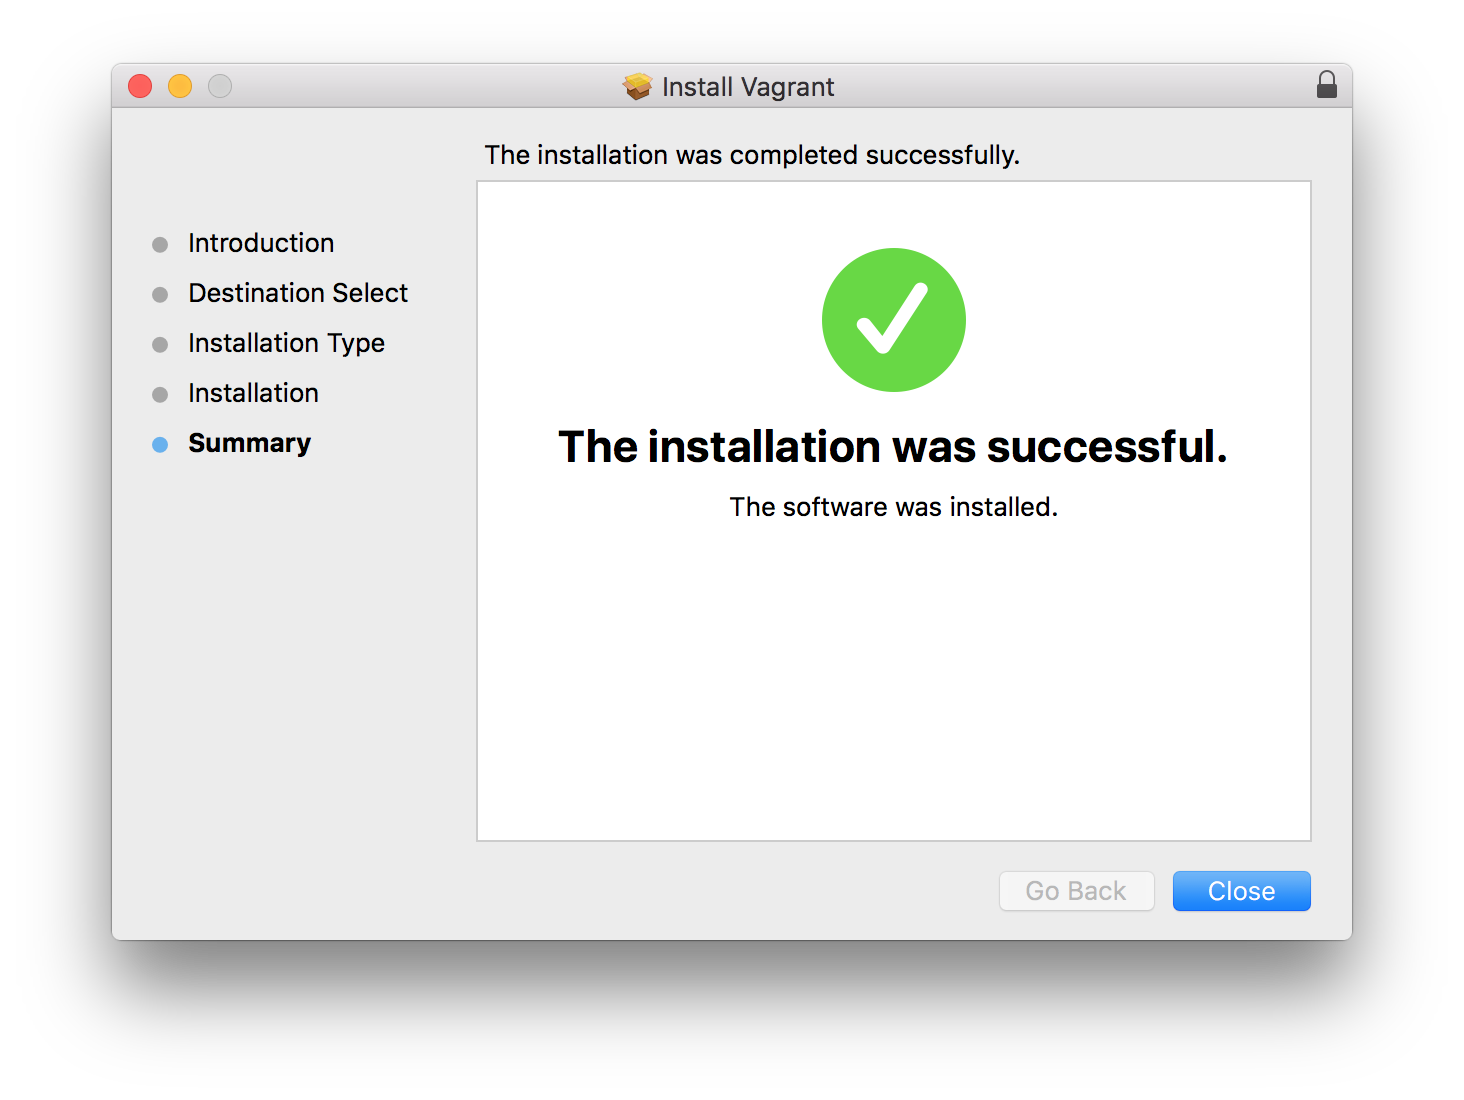
Click Close.
Install Virtualbox
Download VirtualBox from https://www.virtualbox.org/wiki/Downloads.
Click VirtualBox 5.0.14 for OS X hosts amd64.
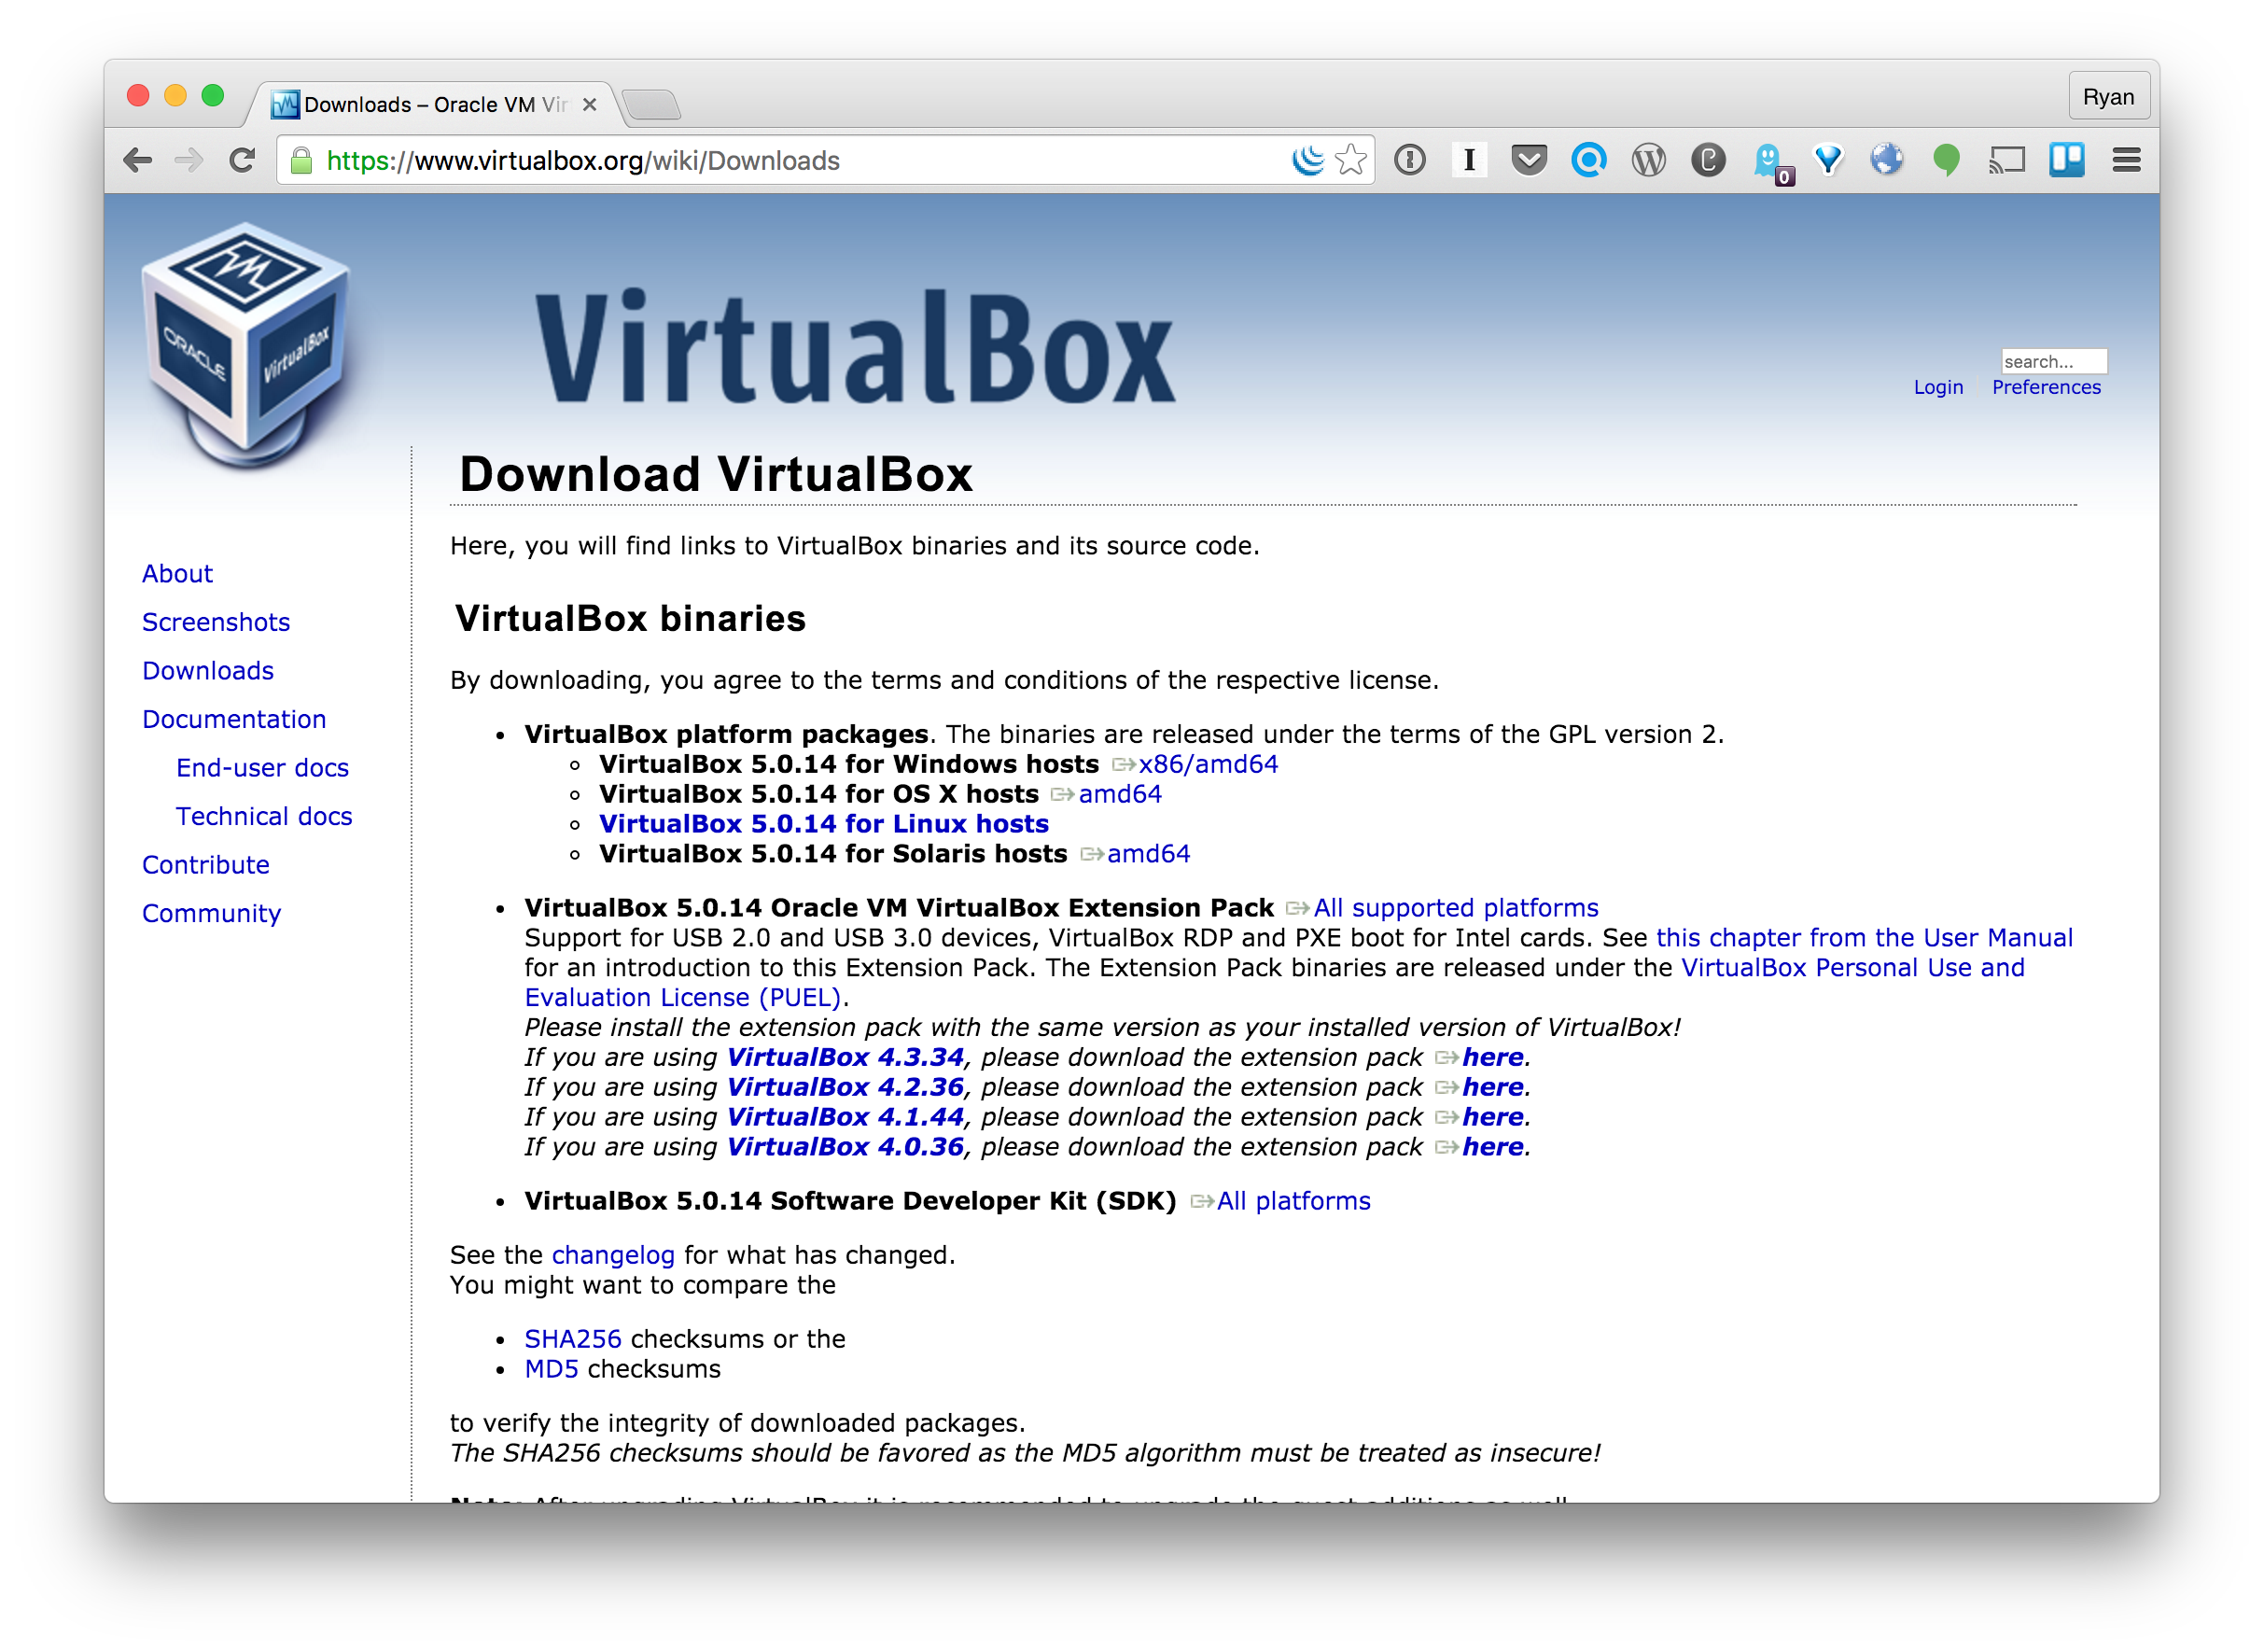
Click VirtualBox*.dmg

Double click VirtualBox.pkg.

Click Continue.
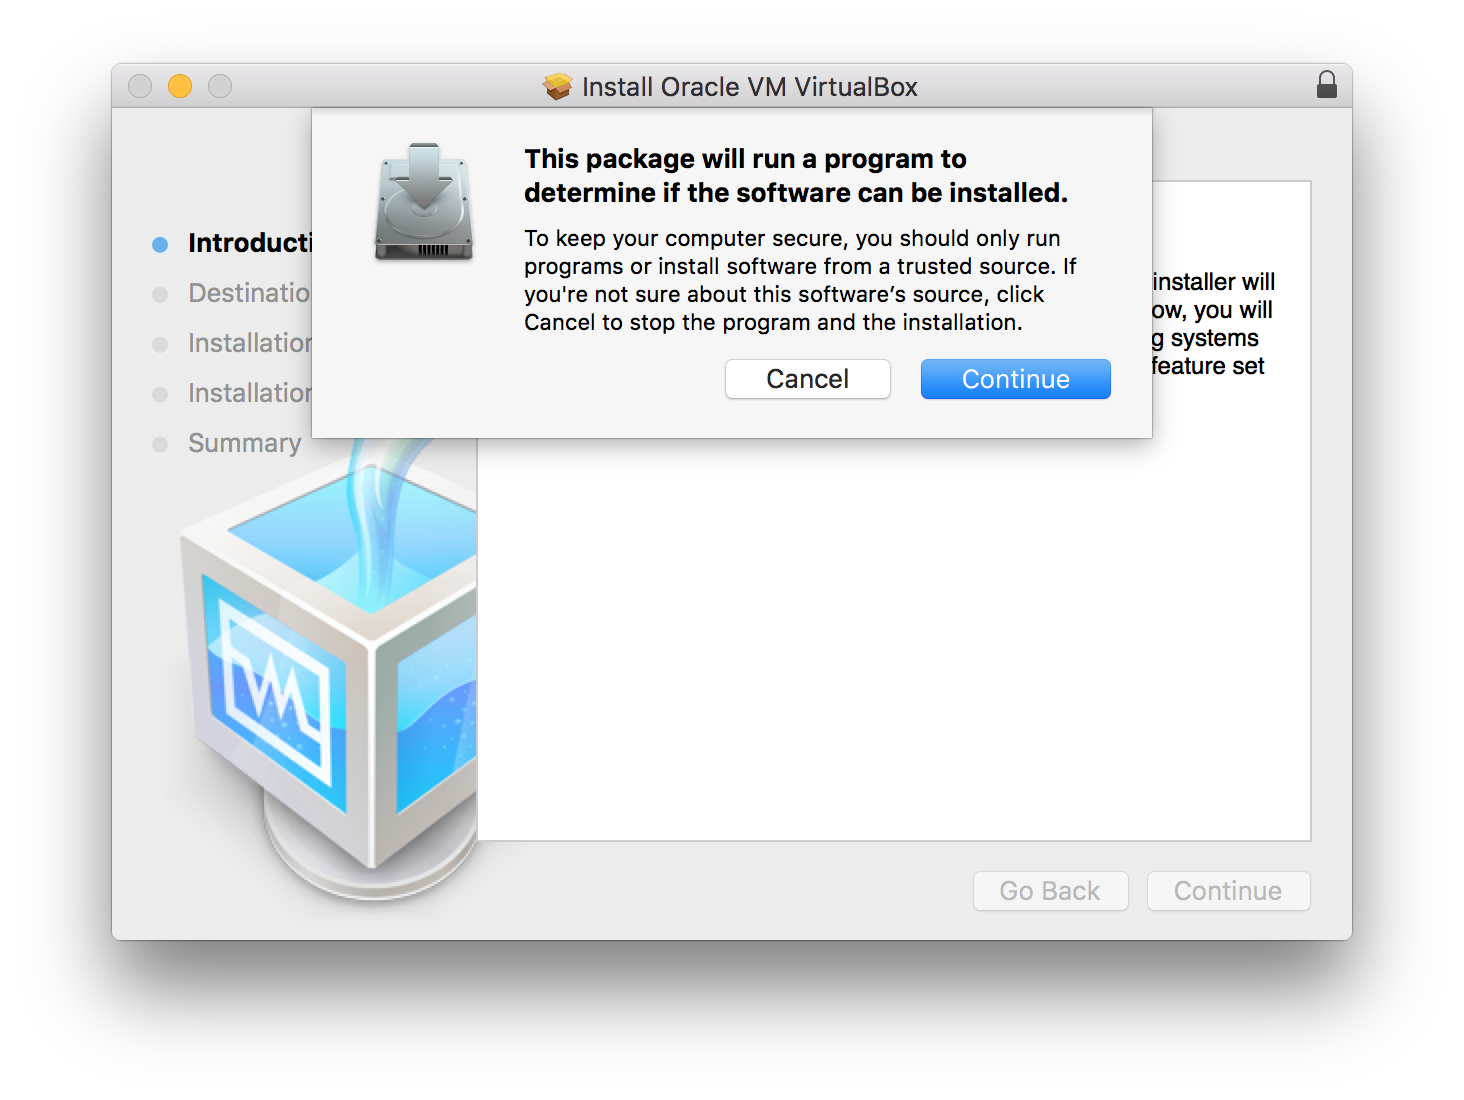
Click Continue again.
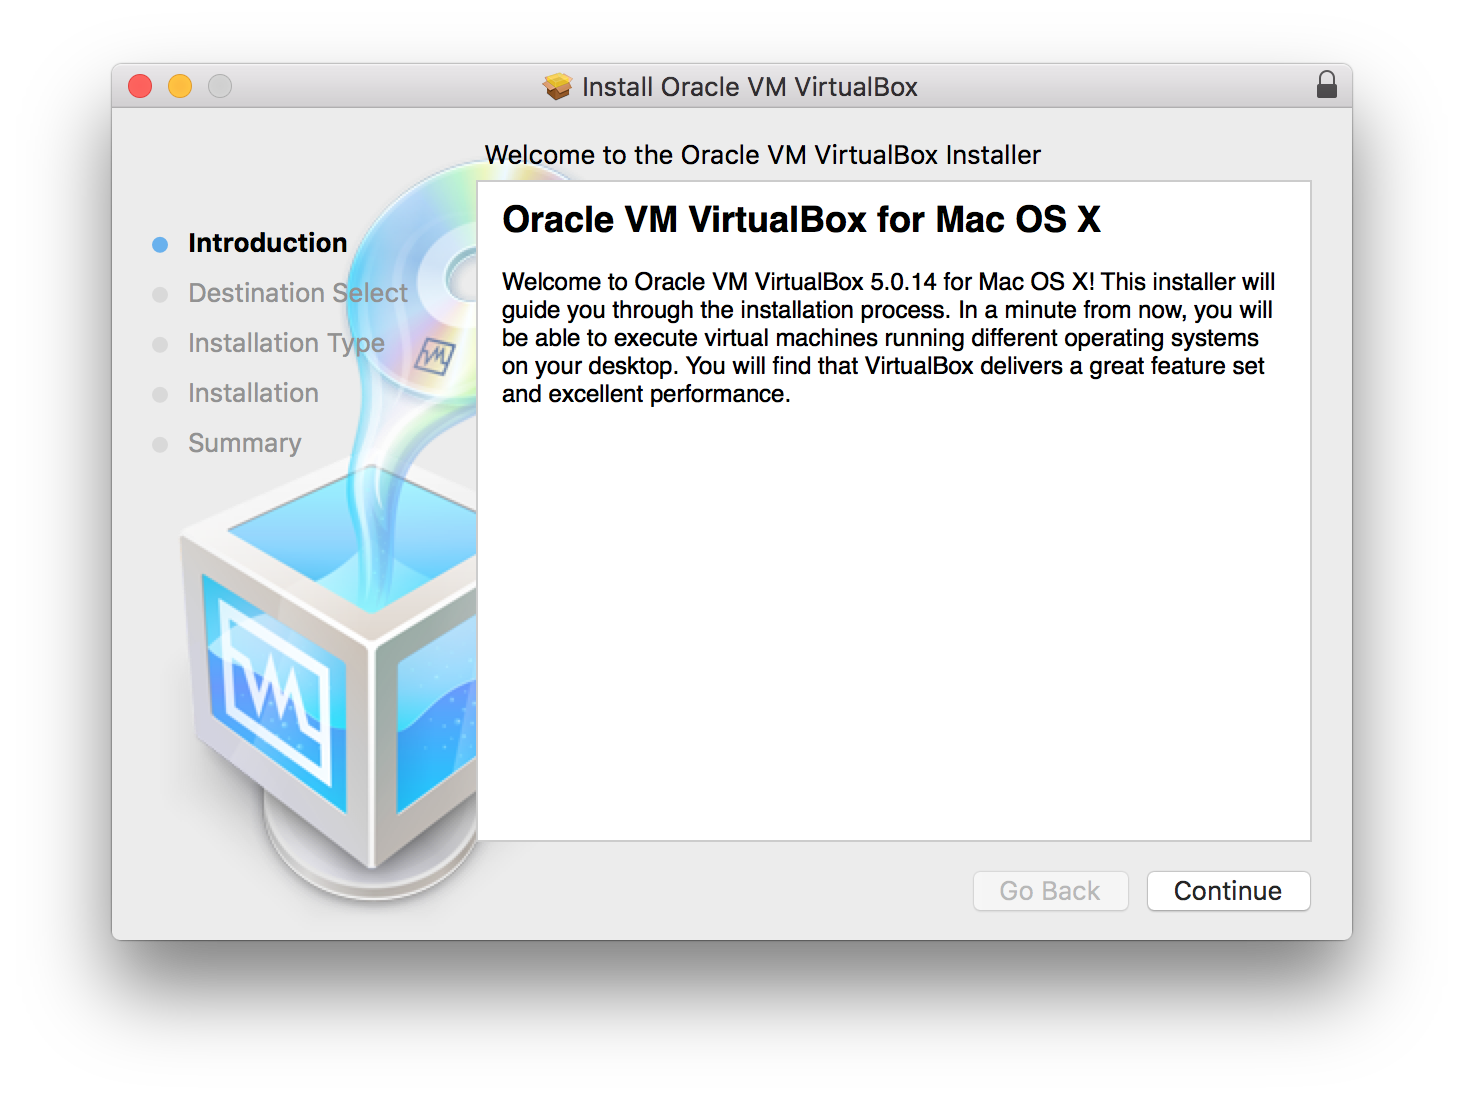
Click Install.

Enter password and click Install Software.

Click Close.

Initialize Vagrant
Launch the Terminal app. One way of doing this is to open Spotlight with ⌘ + space and then type Terminal.

Enter sudo vagrant plugin install vagrant-hostsupdater
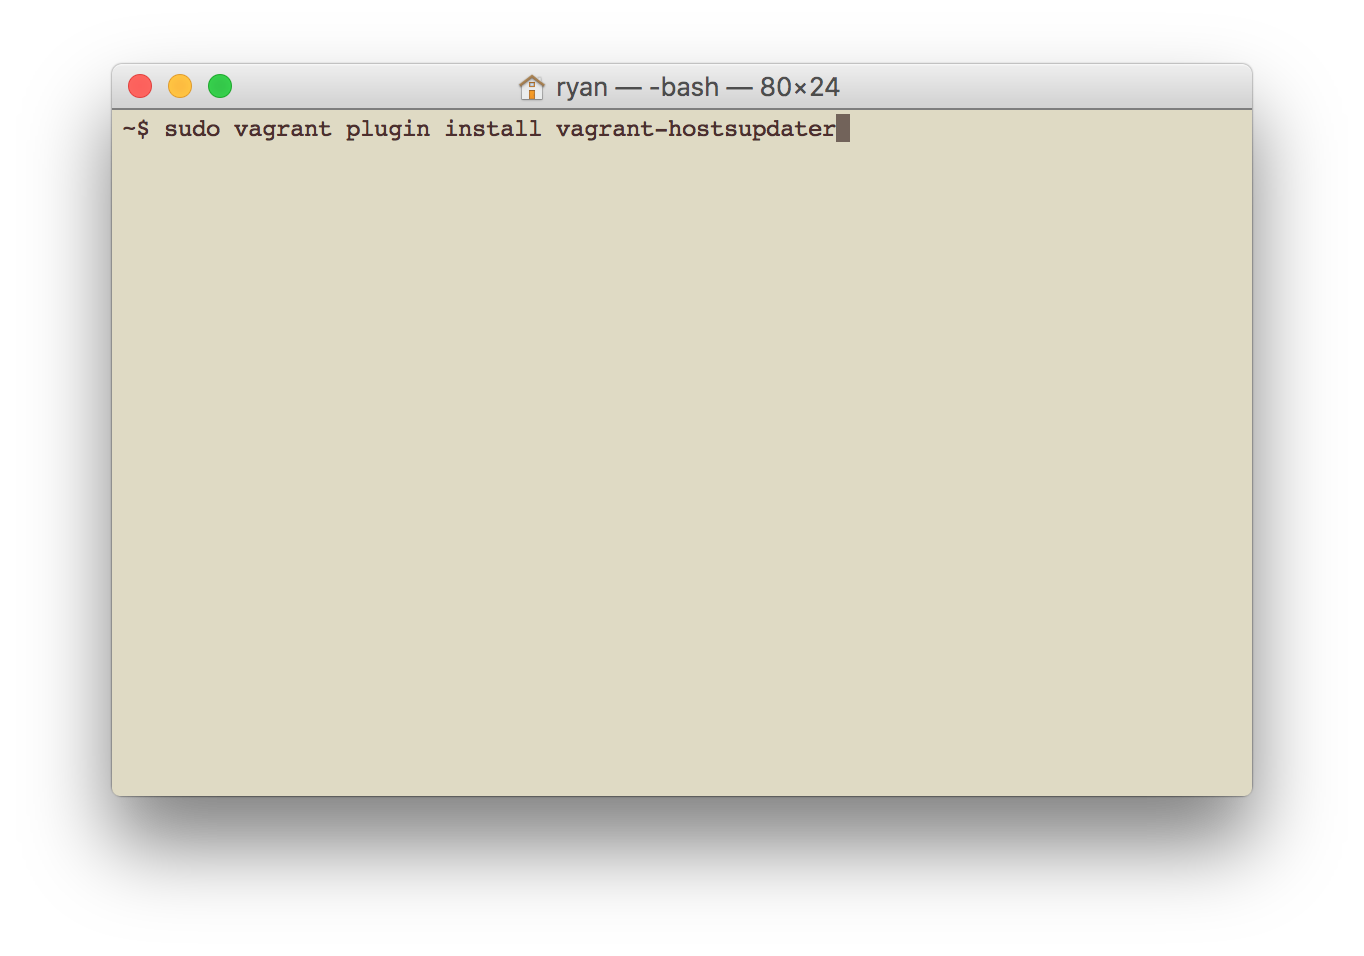
Type your password and hit Enter.
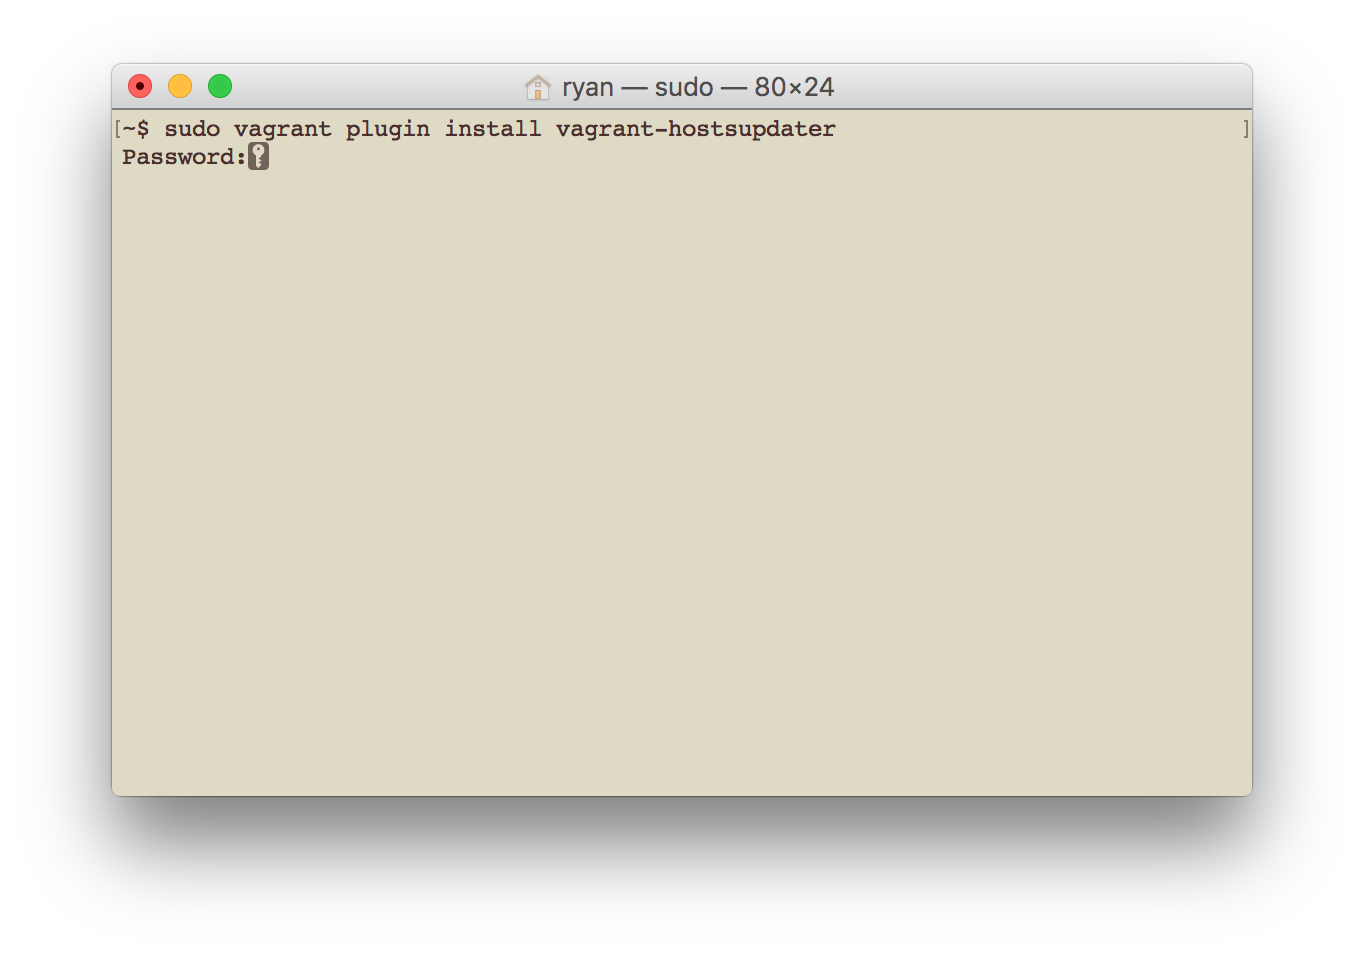
Success.

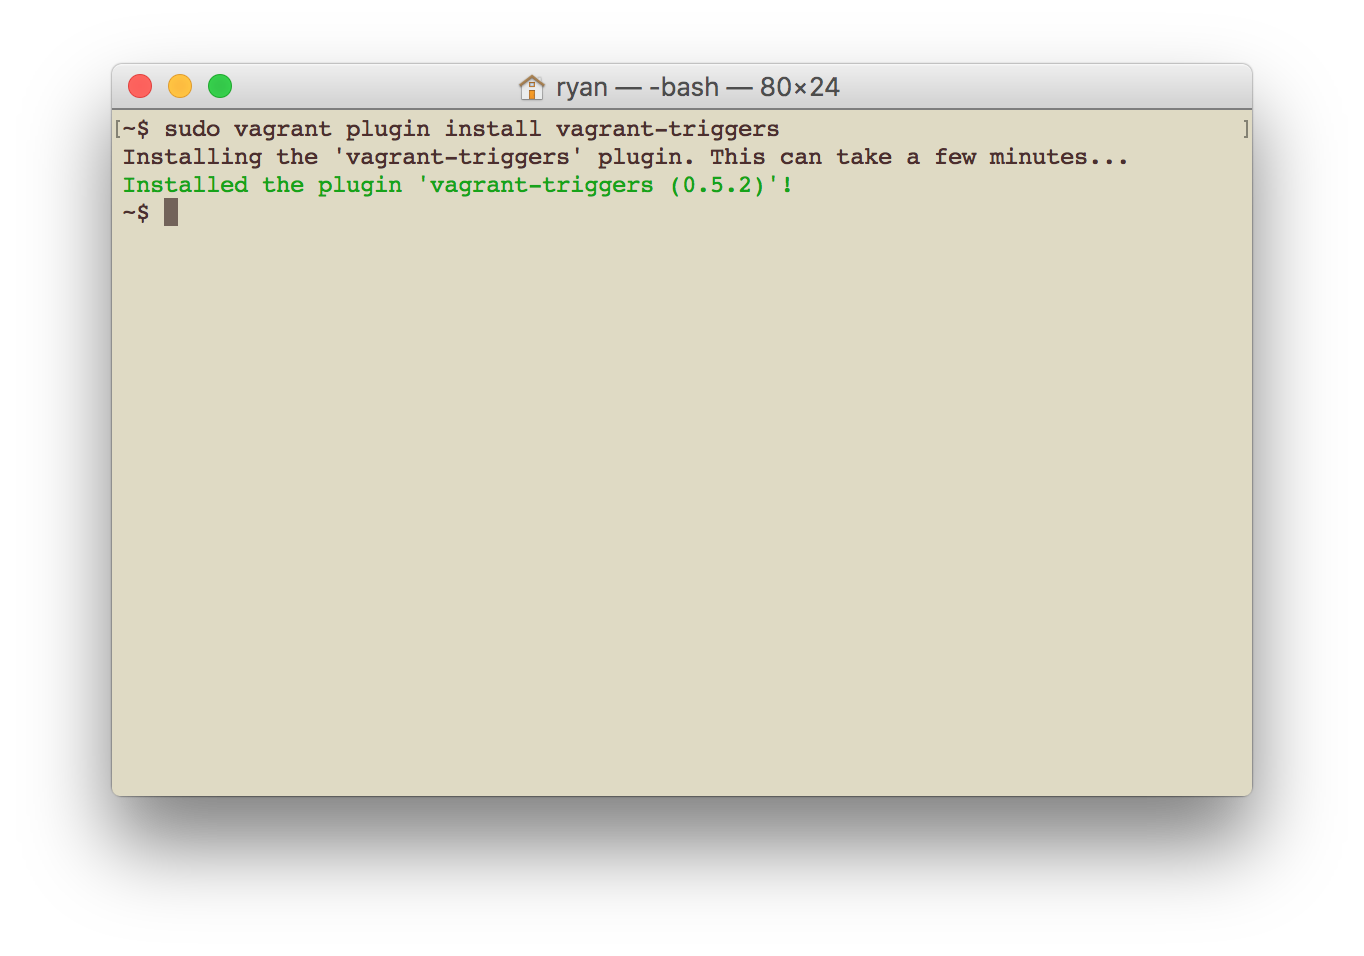
Enter sudo vagrant plugin install vagrant-triggers

Success.
Install GitGit Git is a free and open source distributed version control system designed to handle everything from small to very large projects with speed and efficiency. Git is easy to learn and has a tiny footprint with lightning fast performance. Most modern plugin and theme development is being done with this version control system.
https://git-scm.com/
https://git-scm.com/download/mac
Todo: Step-by-step screenshots
Install VVV
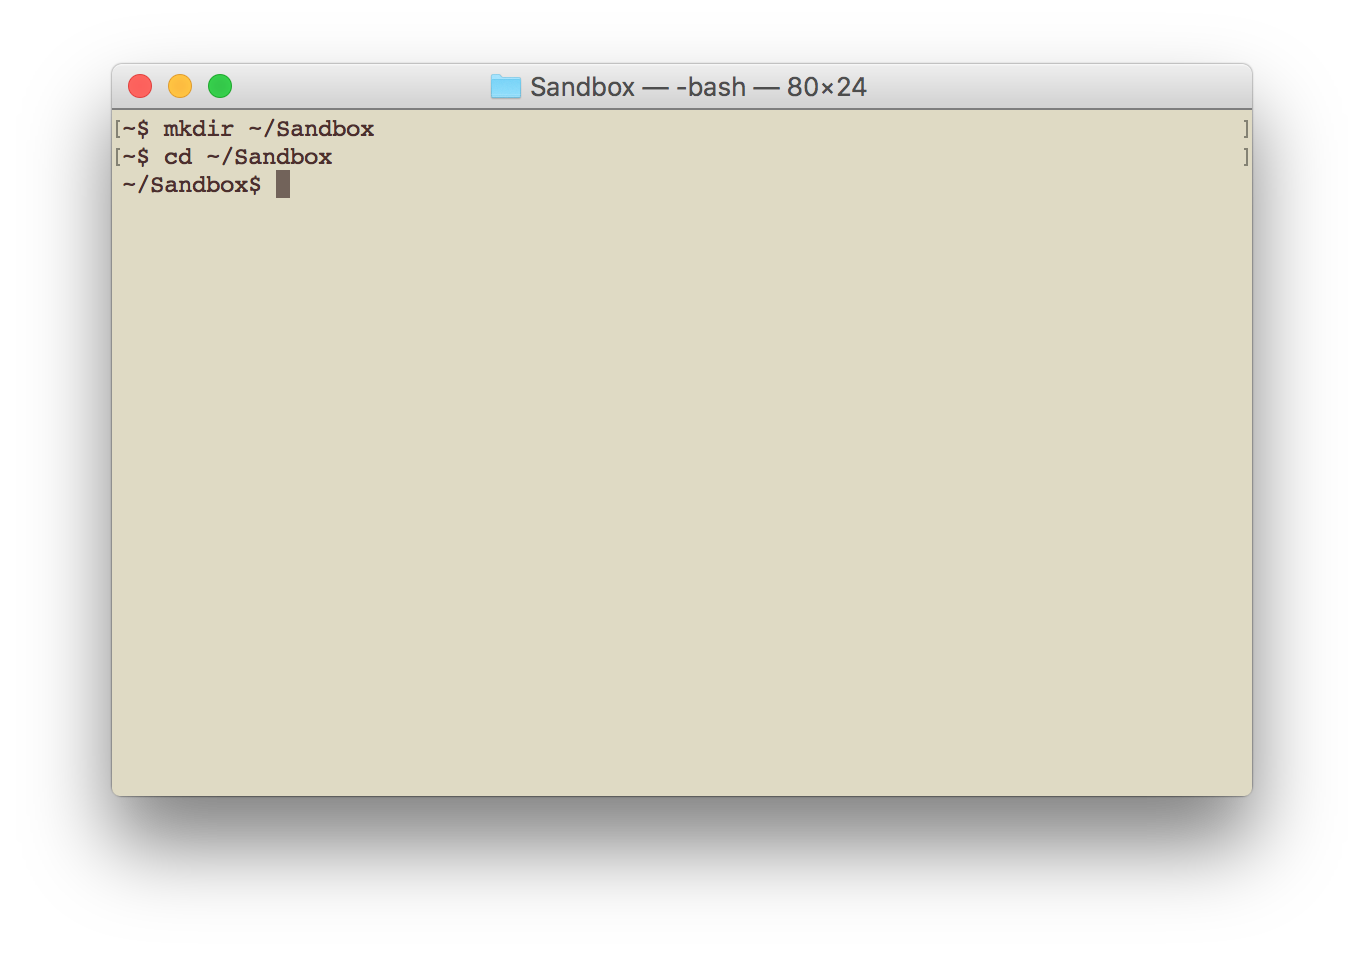
Create a directory for your VVV sandboxes. I call mine Sandbox.
Enter mkdir ~/Sandbox

Enter cd ~/Sandbox
Clone VVV by entering git clone git://github.com/Varying-Vagrant-Vagrants/VVV.git vagrant-local
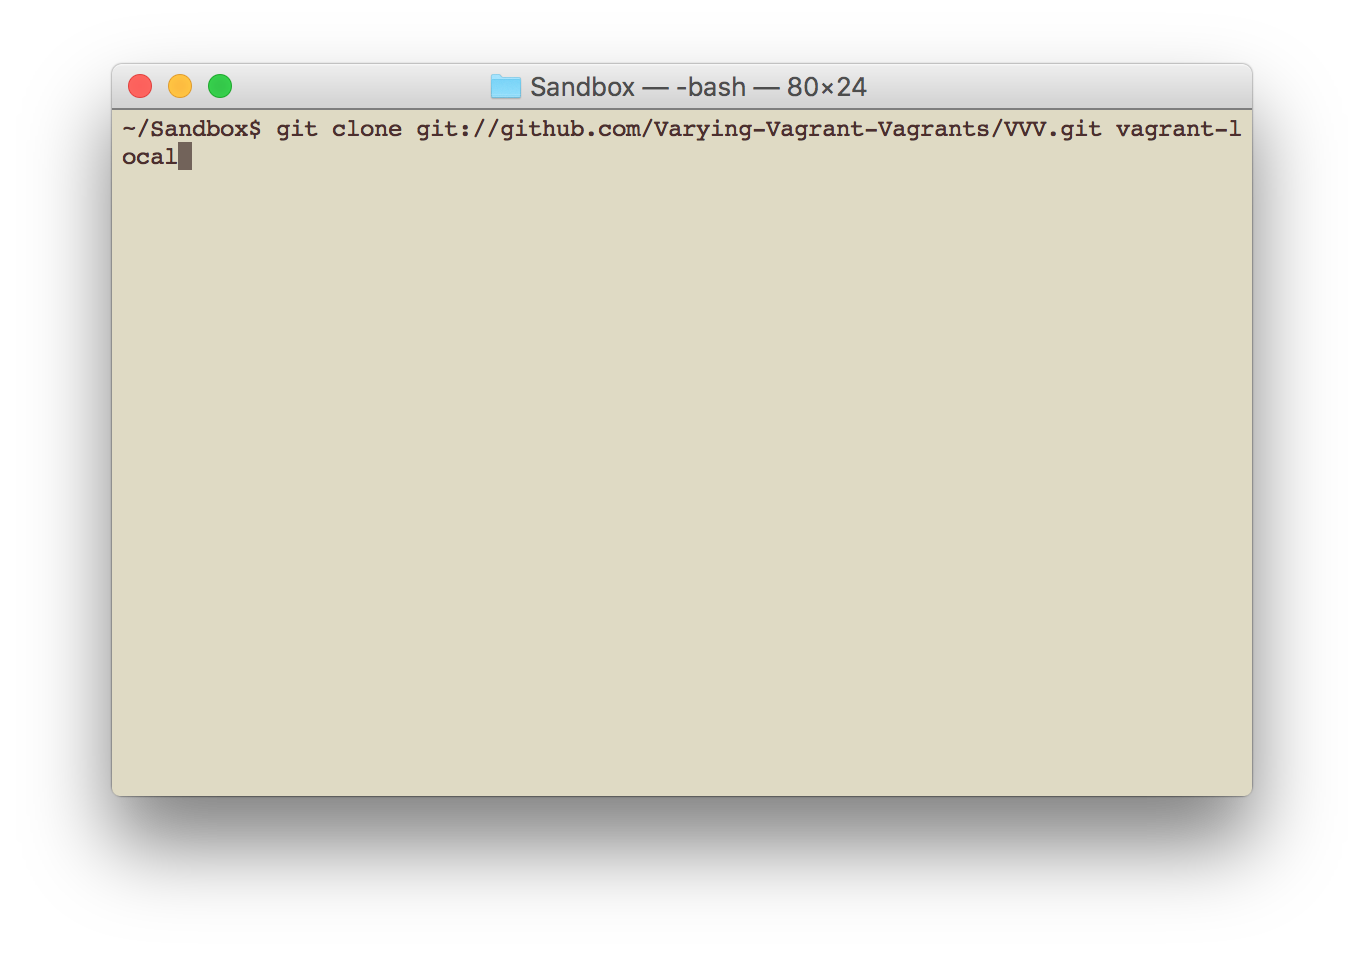
Success.

Enter cd vagrant-local

Enter vagrant up
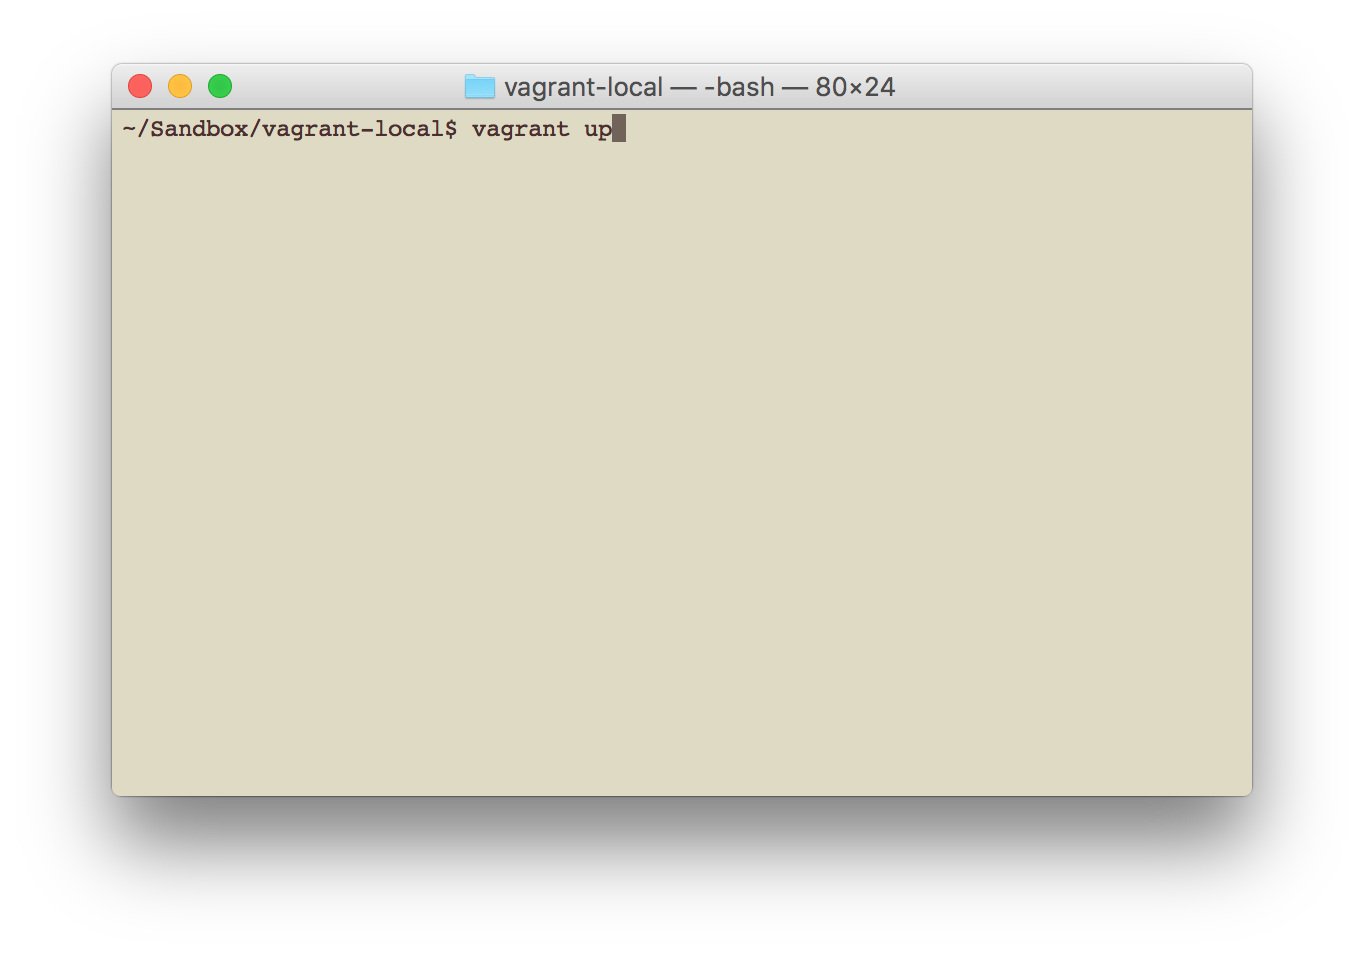
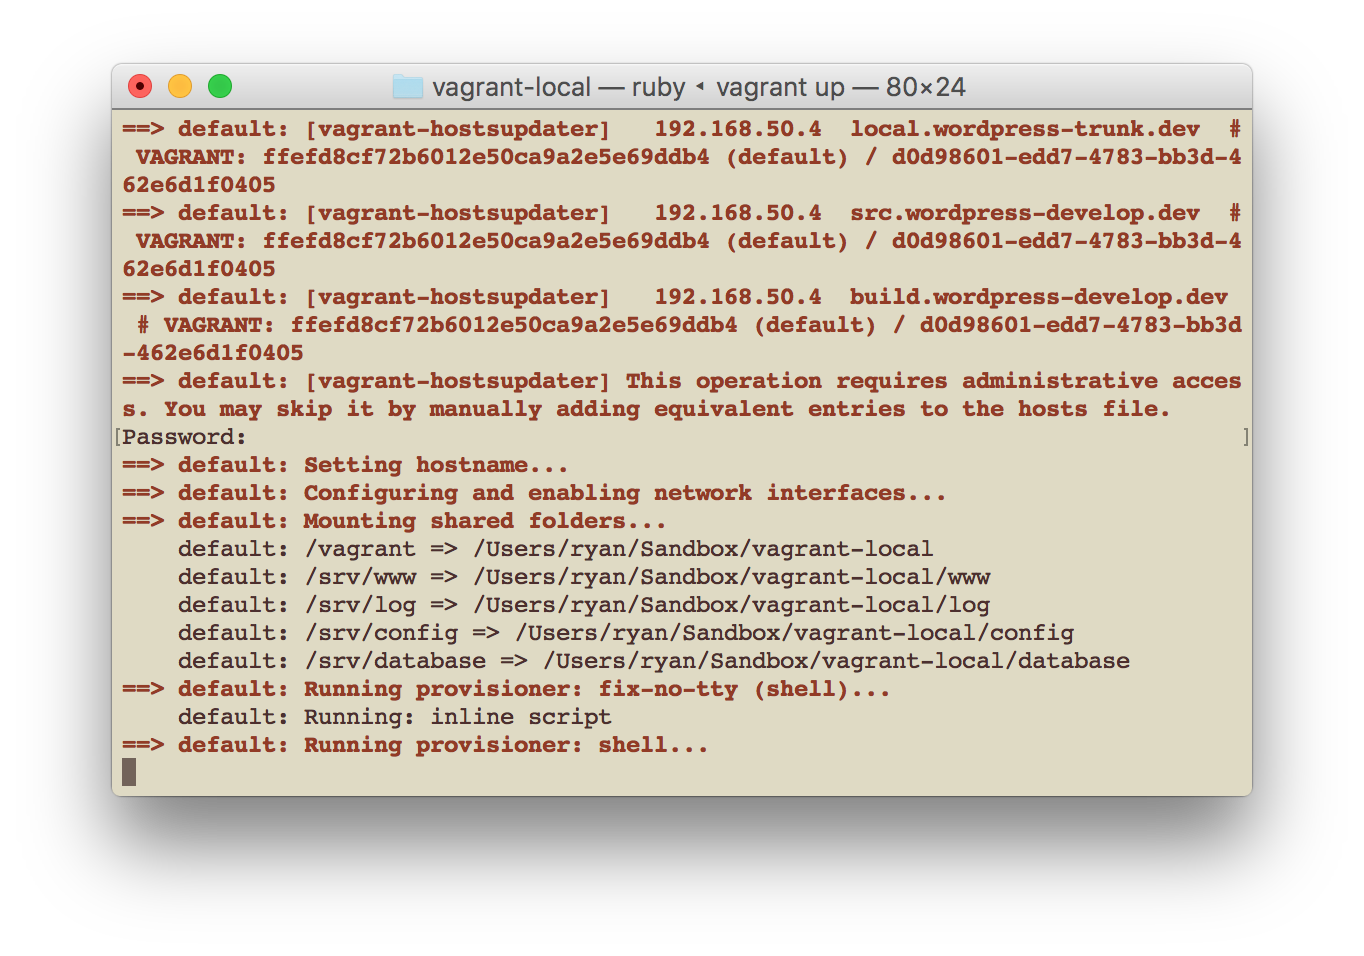
Enter your password when prompted.

This takes a long while as there is much to download. Refresh your beverage and come back in about an hour.
Success.
Enter vagrant ssh
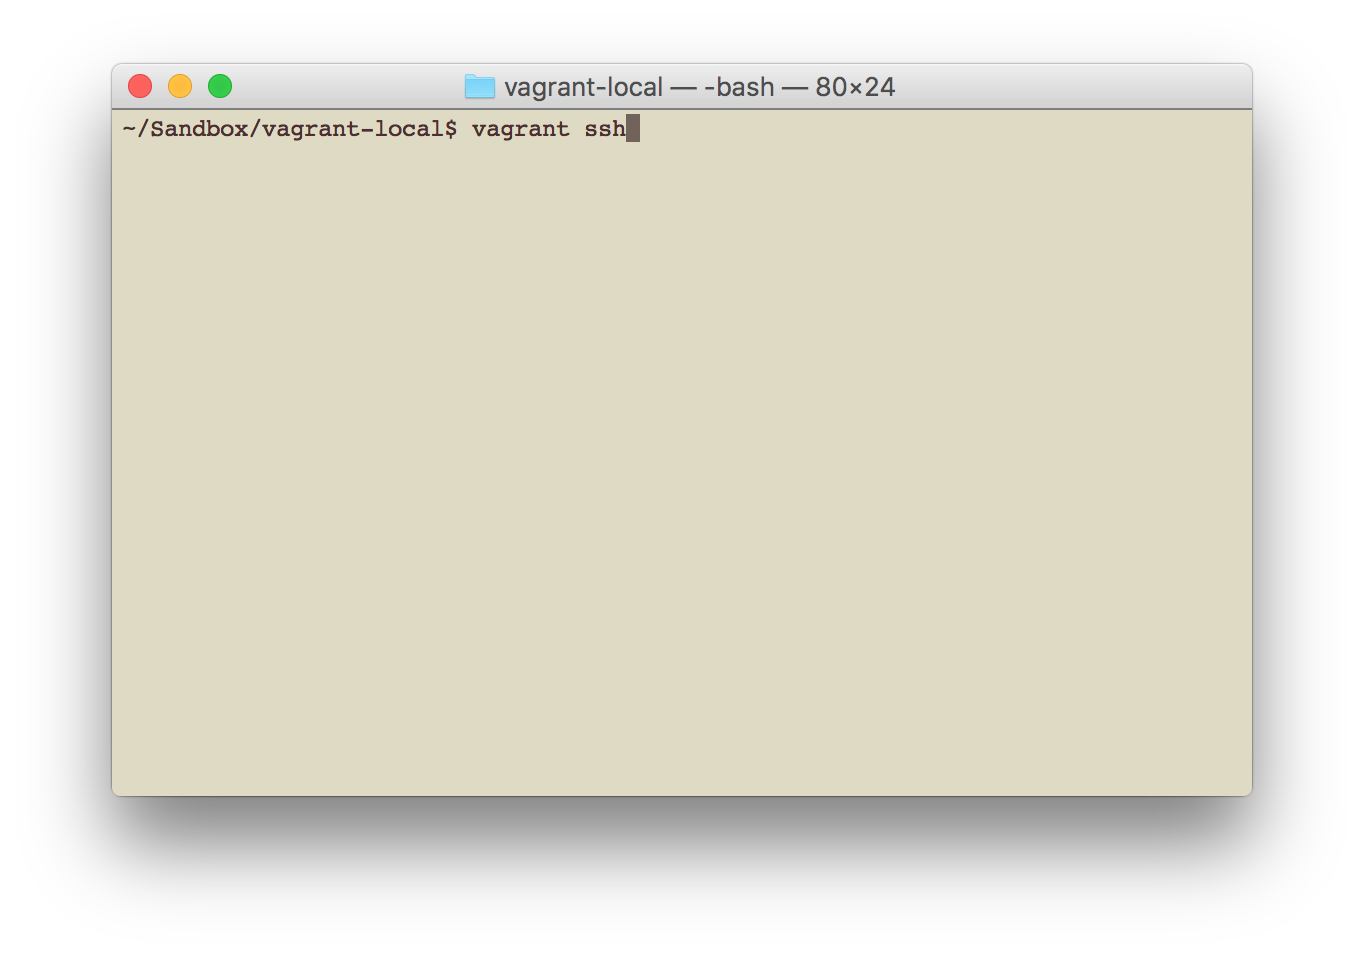
Success.

Enter cd /srv/www/wordpress-develop/
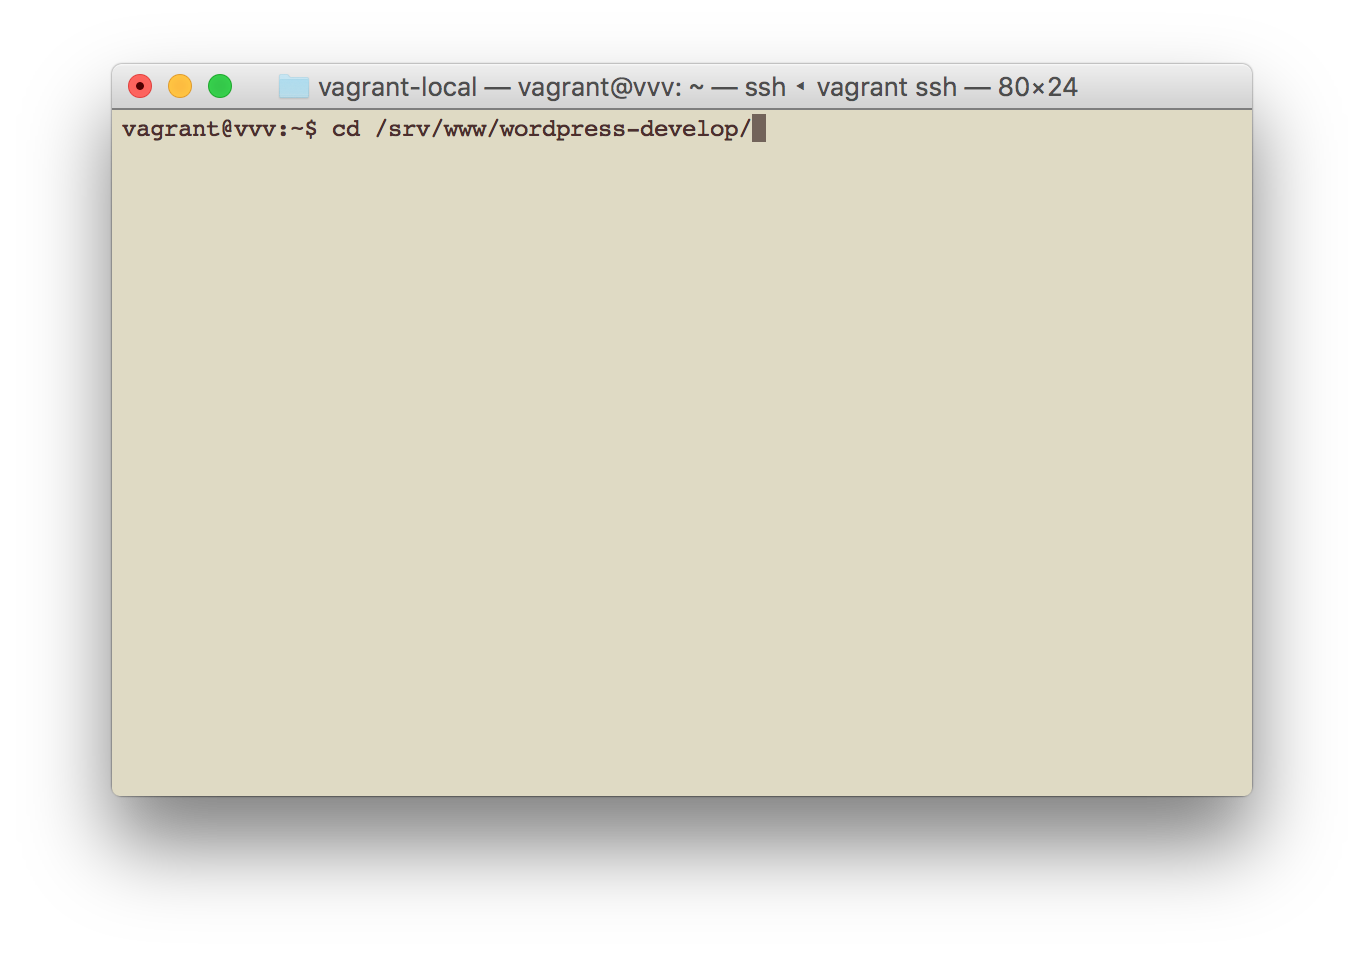
Enter sudo npm install
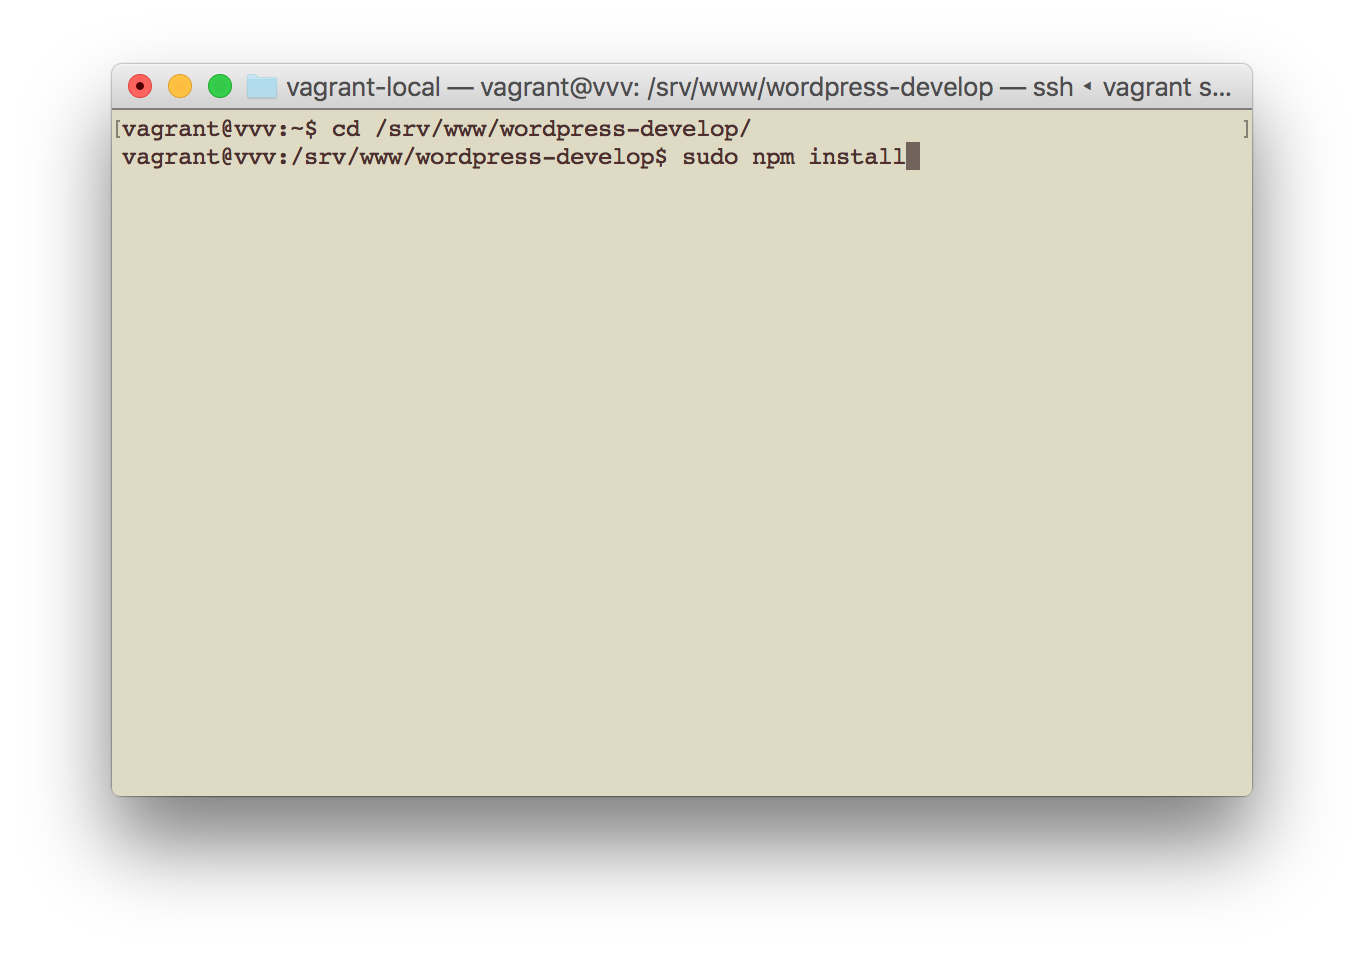
Success.

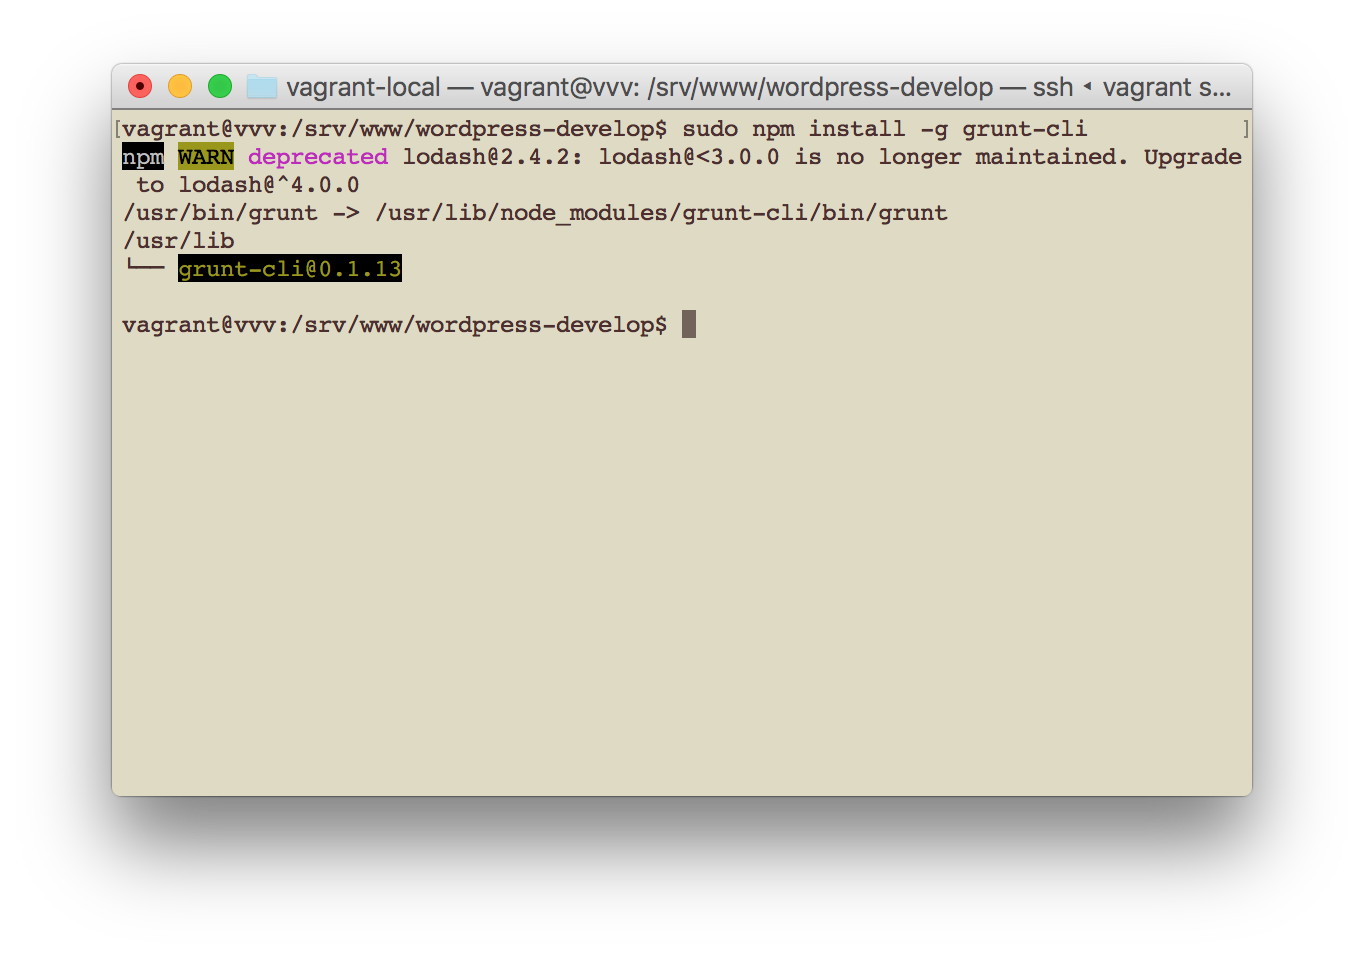
Enter sudo npm install -g grunt-cli

Success.
Enter grunt build
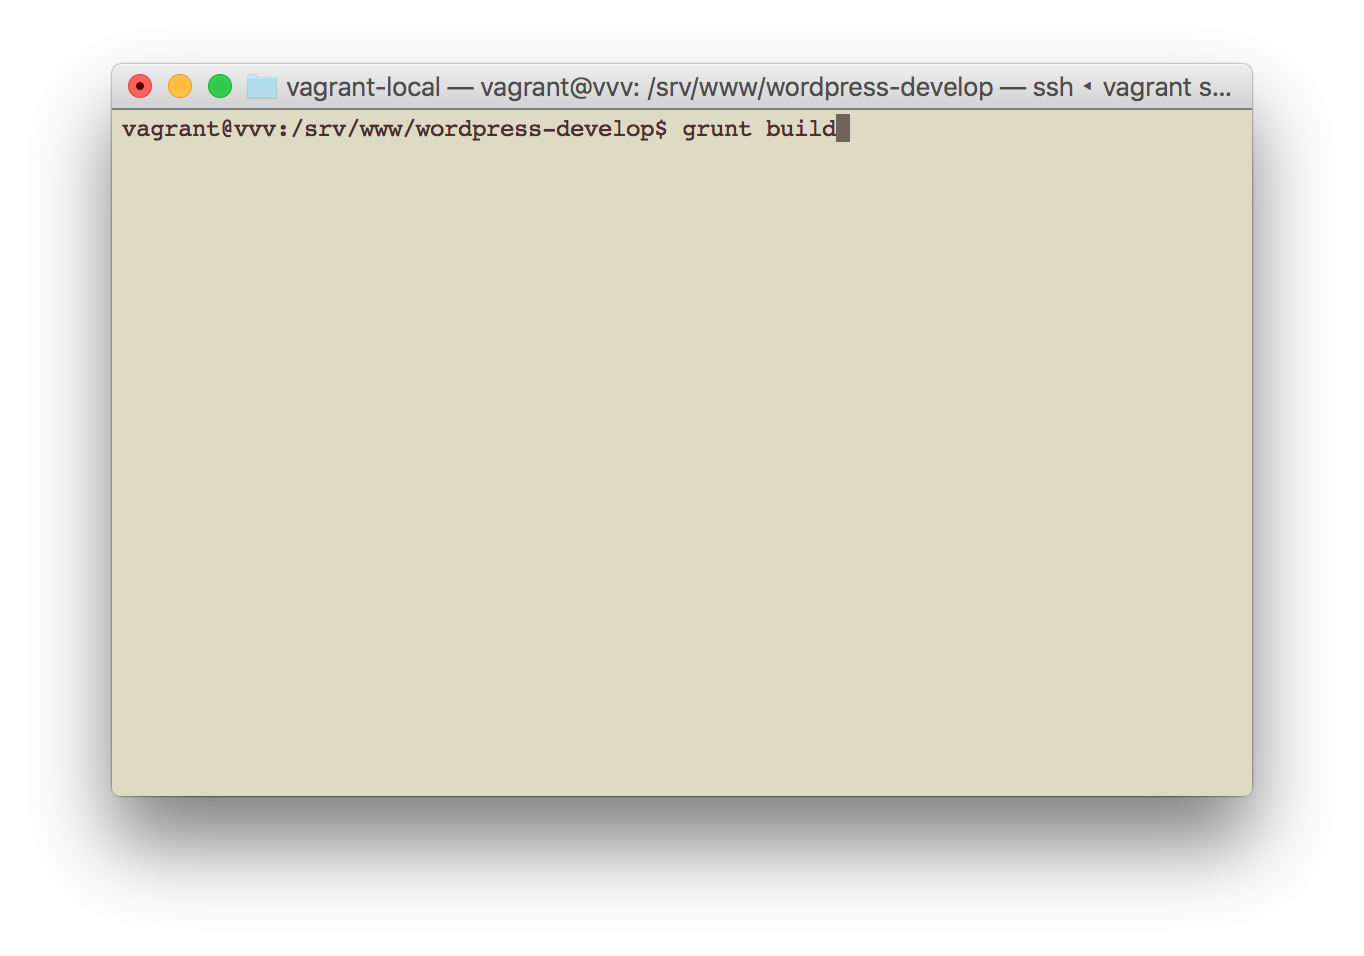
Success.

These sites are now available via your browser.
- http://local.wordpress.dev/ for WordPress stable
- http://local.wordpress-trunk.dev/ for WordPress trunk
- http://src.wordpress-develop.dev/ for trunk WordPress development files
- http://build.wordpress-develop.dev/ for the version of those development files built with Grunt
- http://vvv.dev/ for a default dashboard containing several useful tools
Apply a patch
Before applying a patch, make sure VVV is running and ready. Issue the following commands in a new terminal window.
cd ~/Sandbox/vagrant-local/

vagrant up

vagrant ssh

cd /srv/www/wordpress-develop/

grunt watch &

svn up
Now you’re ready to patch. Find a ticket with patches. This examples uses #11863.
Enter grunt patch:11863
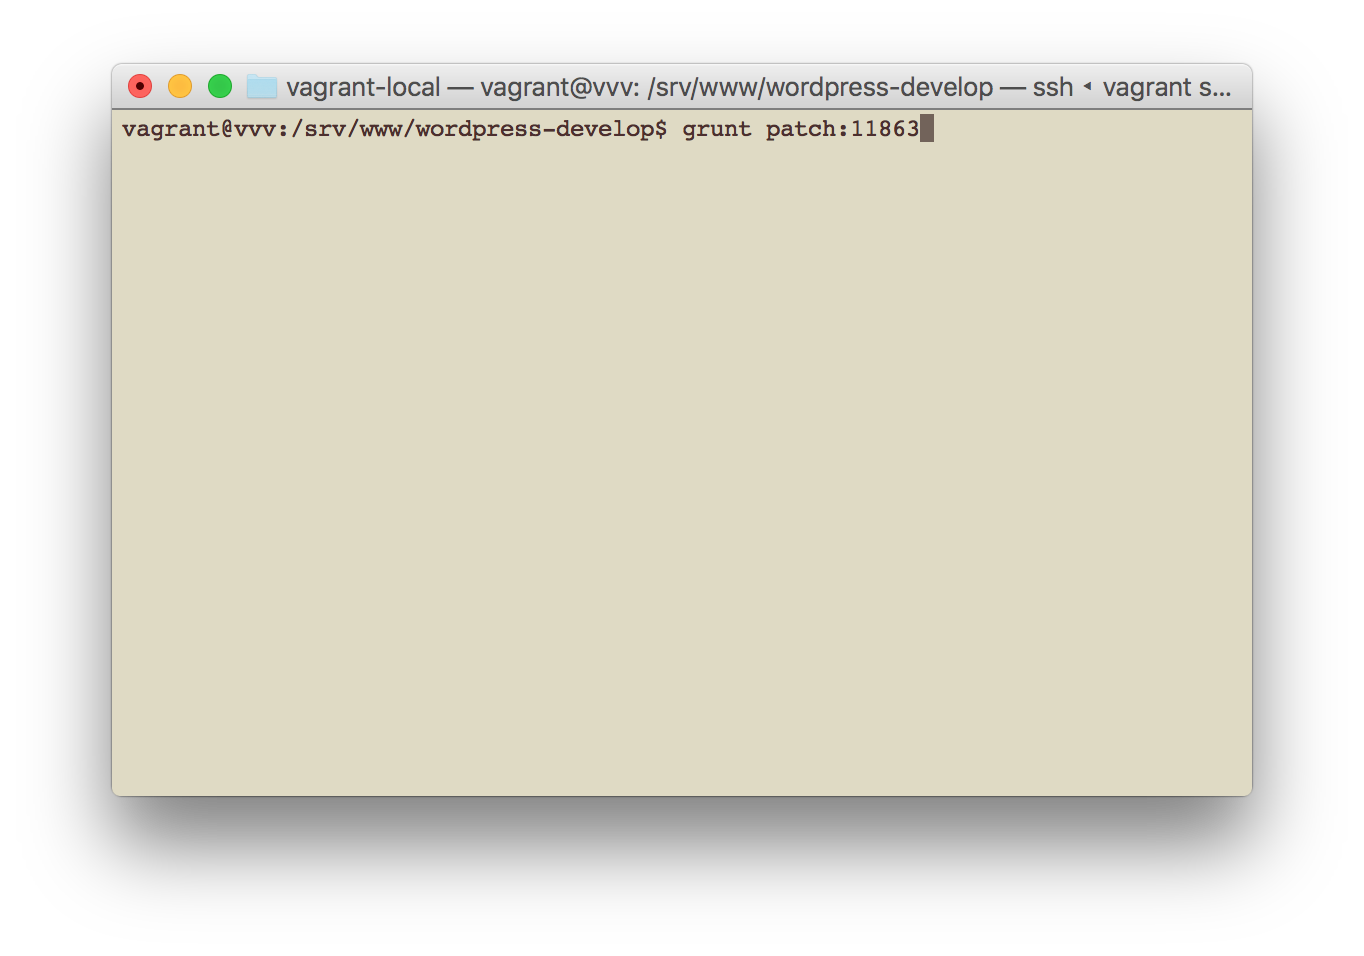
Using the arrow keys, select the desired patch. You’ll almost always want the latest one, which is pre-selected.

With the desired patch selected, hit enter.
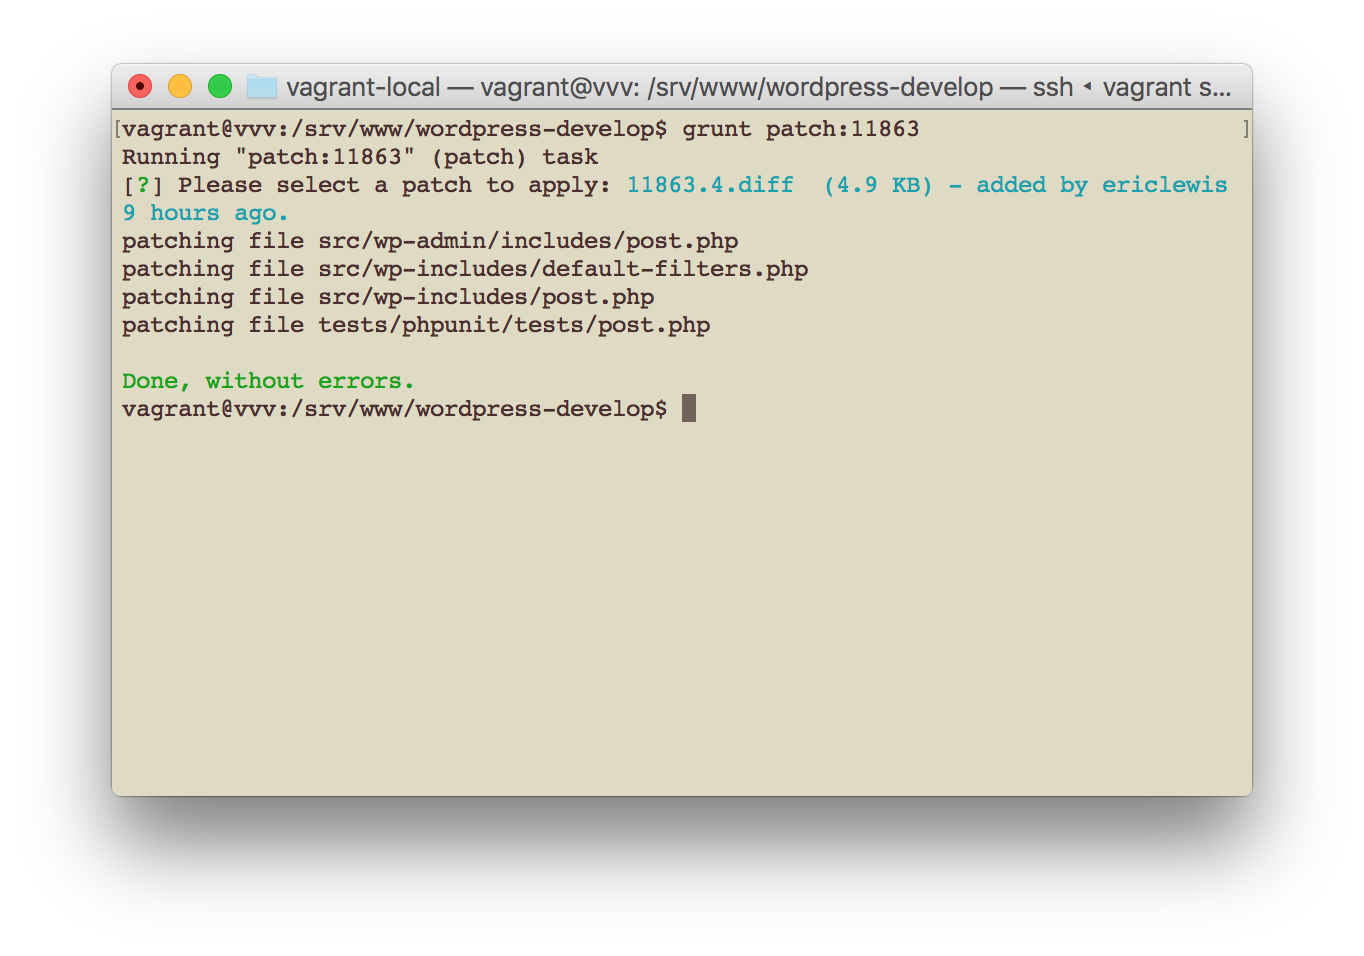
If the patch did not apply cleanly, drop a comment on the ticket nothing that the patch does not apply cleanly and needs to be refreshed.
The patch is ready to test. Visit http://src.wordpress-develop.dev/ and log in with the username “admin” and password “password”.
When done testing, remove the patch using svn revert.
Enter svn revert -R .
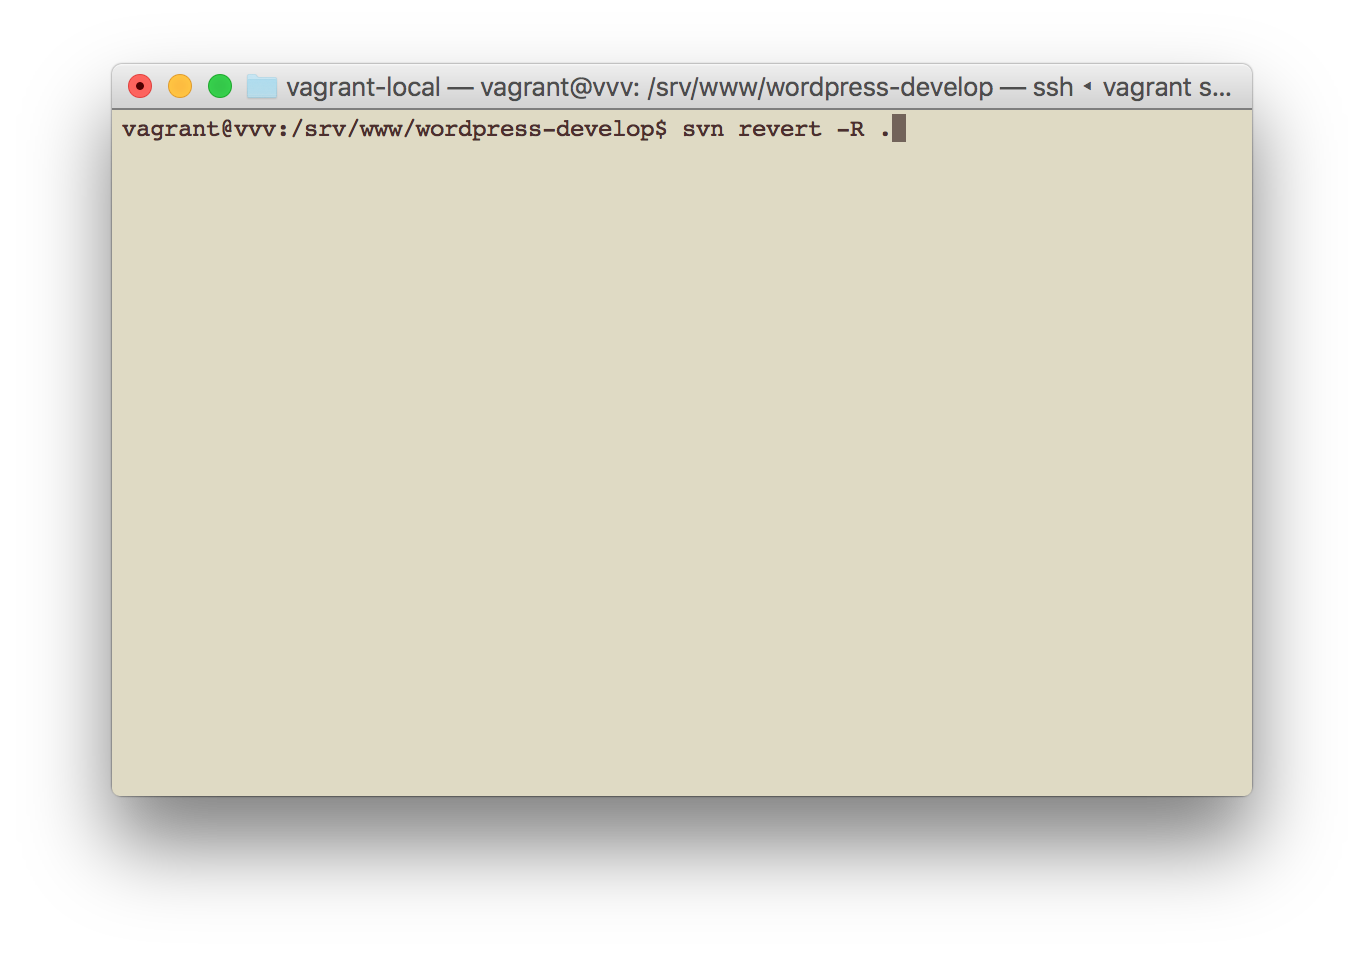
Successful revert.

Comment on the ticket with testing notes and testing steps. If the patch alters user interface, upload screenshots of the patch in action.
Resources
- https://make.wordpress.org/core/handbook/testing/patch/
- https://make.wordpress.org/core/handbook/tutorials/installing-a-local-server/installing-vvv/
- https://make.wordpress.org/core/2015/03/16/mobile-patch-testing-with-vvv-and-xip-io/
- https://github.com/Varying-Vagrant-Vagrants/VVV
- https://www.vagrantup.com/downloads.html
- https://www.vagrantup.com/docs/getting-started/
- https://www.virtualbox.org/wiki/Downloads
- https://git-scm.com/download/mac